

 Reply With Quote
Thanks Len.
Doc that sounds like a great looking eye. Thanks for posting the details and I'm going to give it a try. Will post pic asap. Thanks

 Likes: 0
 Thanks: 0
 HaHa: 0
 Crappie.com 1K Star General

Originally Posted by Len

Thank You and Sorry, Len I'm jacking your pics as my own Rofl That's just what I needed for an example Thumbs Up
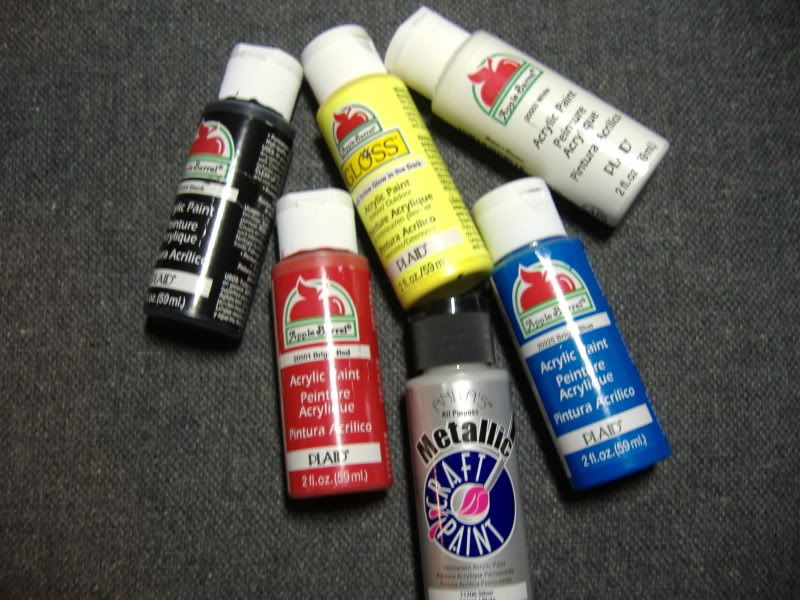
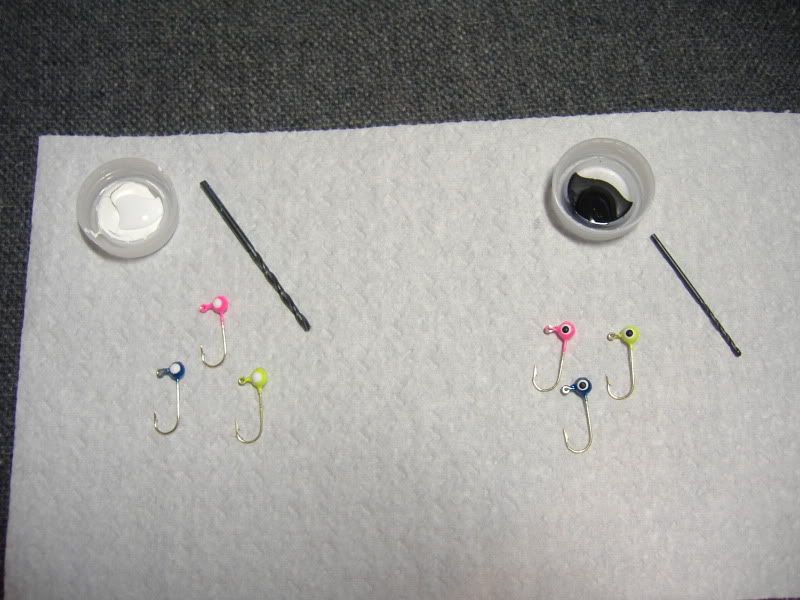
I too use some of those paints, something else for anybody who tries these, I got mine at WalMart. I've found if I use the outdoor ones I get a little better adhesion. I also use drill bits and mine happen to be cupped on the end, if that matters. I'll to do a step by step for a buggier eye. Eyes truly are up to the beholder, some like big eyes, others smaller, then pupils are kinda the same. This is just a basic description and I'll get some pics up later.
For a buggy white eye I use 4 bits:
1) Base coat of the white
2) Extreme glitter but using the next size bigger bit to apply
3) Same as above except the next size smaller bit that the base coat
4) Pupils are preference for size when choosing a bit
5) 2 coats min of Sally's
Myself, I do a run for these eyes of about 200. I'll do each step to all before the next step. The paint isn't dry but it's firm or skinned over allowing the following coat to help build up and out. It also helps combine the strength of the outdoor style paint in adhesion of all. At this point 4 of the stages are complete and I let them cure for 2 days. Finally, I seal them up with Sally's, 2 coats. I know when Sally's get low they start getting thick in the bottle, I'll save them to one bottle and make my 1st coat using them with the bottle applicator and a newer bottle for the final coat. All of this helps to bulge out the eyes like an insect. I cure these for 24hrs. I haven't had good luck with them staying on if I short any of the curing times with acrylic paint. Skip, the extreme glitter makes for a deep bodied, realistic eye that doesn't BLEED when sealing with Sally's Thumbs Up
It's the most labor intensive eyes I'm willing to do. I've been pleasantly surprised with responses and demand and guys seem pretty willing to pay $10/100 just for the eyesIt will give you that molded 3D eye look and stay on a round head. I hope this helps and if you try it, let us know about your result.
Oops, one last thing, I save pop bottle, water bottle lids for applicating. Any lids really, please recycle.
All lakes raise a foot when I step in the boat
Super Moderator
* Crappie.com Supporter * Member Sponsor
Thanks Len.
Doc that sounds like a great looking eye. Thanks for posting the details and I'm going to give it a try. Will post pic asap. Thanks
PROUD MEMBER OF TEAM GEEZER ---------
Ascend 133X 13' - MotorGuide Xi3 & Mercury 4
Keeper
Len, I like the idea of using the flat end of a drill bit as an applicator. It means that if you have a set of drill bits, you can make different size eyes for different size flies.
I often use T/shirt ink to make eyes and then give the head a coat of clear.
Crappie.com 3K Star General
Question, when ya'll talk about baking the jigs after powder painting do you put them in the oven at a certain temp? If so how long? Thanks
Crappie.com 1K Star General
http://www.crappie.com/crappie/jig-t...emps-time.html
Crappie Wall Hanger II
I use lacquer paint from Netcraft. The thinner can be purchased at any hardware store. I use various sizes of finishing nails for applicators.
The eyes are painted on after the paint is cured.
(IMHO) I believe eyes do make some difference, if nothing more than psychological. If you are confident the lure will catch fish It usually will. :-)
Super Moderator
* Crappie.com Supporter * Member Sponsor
Thanks for your post and welcome to CDC.
PROUD MEMBER OF TEAM GEEZER ---------
Ascend 133X 13' - MotorGuide Xi3 & Mercury 4
Crappie Wall Hanger II
I've made eyes for a very long time . This is for me the most effective way I've found and it is the most versatile . You will need pencils . an assortment of straight pins hat pins . Cheap and easy stuff to find . I use Component systems paint ,It has nasty ingredients and smells but it stays on most anything . If you put a drop on a plastic bait after it dries you can peel it off and the color will have stayed on the bait . Thin your paint to the viscosity of ink . Stick the desired pin in the eraser of the pencil ,this make a holder and handle . Dip the pin head ,then touch the lure . with a little practice you will make perfect dots without doing anything but touching the lure . Once you have one two or three colors on . to make them look 3D put a big drop of clear coat over that .
Crappie.com 2019 Man of Year, Supermod & Moderator of the Mechanics Forum
* Crappie.com Supporter
I just started painting eyes on mine. I have been using Testers model paint from Hobby Lobby. Seems to work ok. Been letting each coat cure for 24 hrs then cure in oven at 175 for 20min. Then good ole Sallys. Seem to be holding up pretty good.
Proud Member of Team Geezer
Charlie Weaver USN/ENC 1965-1979
Crappie Wall Hanger II
If you clear coat and use a fast drying paint there is no need to wait 24 hrs and cure with heat . The clear coat is all you really have to give time too . 15 min should be the longest you should have to wait to clear coat.
Posting Permissions


