
HaHa:
0
-
 Maintaining My 2001 2500HD Silverado
Last winter 2022-2023 I took this truck engine down to the short block. Since I bought this truck new back in 2001 I have tried to maintain its condition but with 244K miles on it the engine work was due. Previous unusual repairs, mainly the brake lines. Older Silverado truck's brake lines rust out. I had to replace all the lines so I did that using stainless steel. Under the hood I replaced everything, from the motor mounts up. Transmission lines, radiator, entire HVAC system, entire power steering system less the steering gear. All the sensors, electrical system, fuel system, the throttle body, ingition system, Hydro-boost & master cylinder, etc. All OEM GM parts. The heads didn't have a single exhaust valve that held a seal. I re-seated the valves myself before reinstalling the aluminum heads. The headlights, turn signals, even installed updated LED headlight bulbs. The brakes are all NAPA Fleet parts - Bullet Proof.
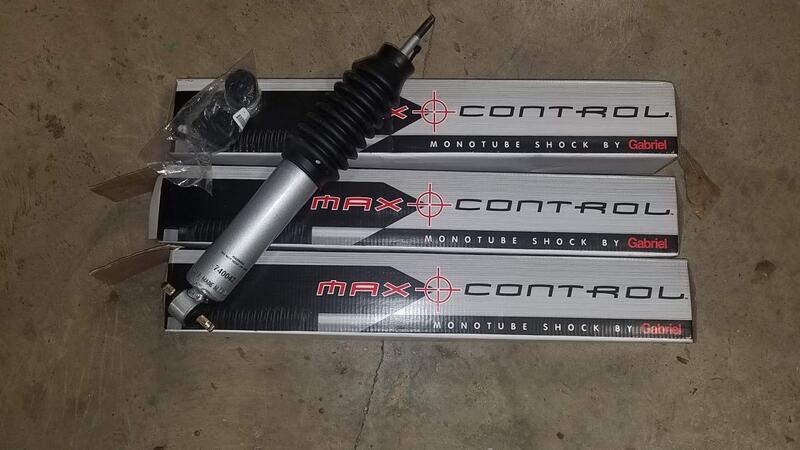
This job now is just shocks. Towing the Camper back from Ross Barnett for over-winter service and updating I could tell the truck body was rocking & bouncing too much.
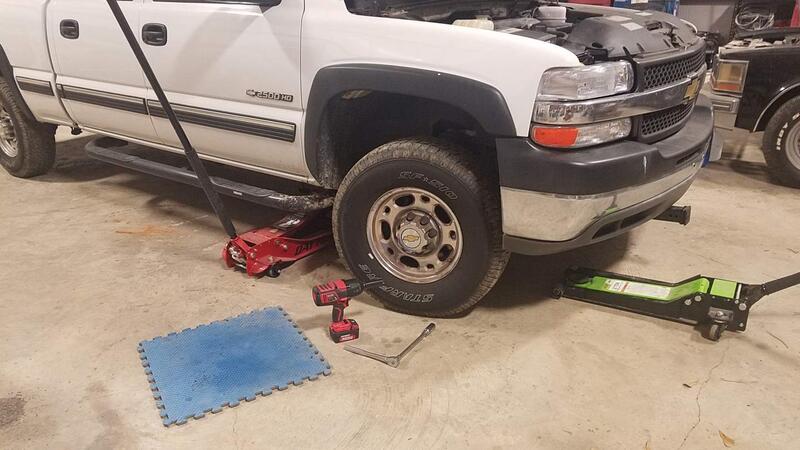
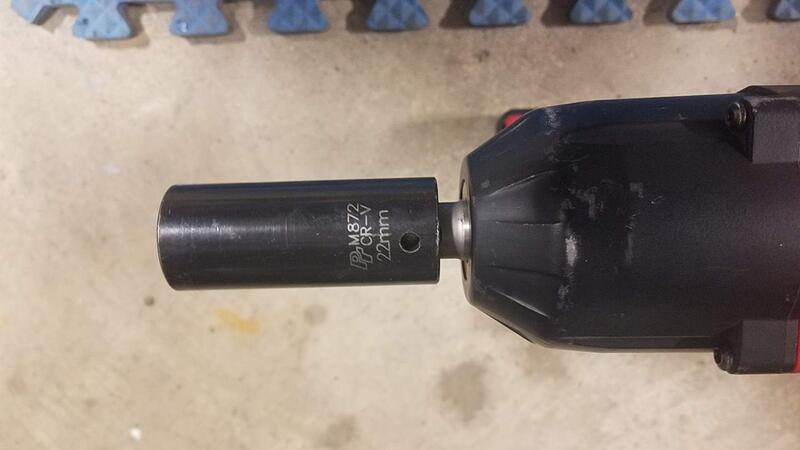
First off removing the front wheel, a 22mm on the impact did the job.
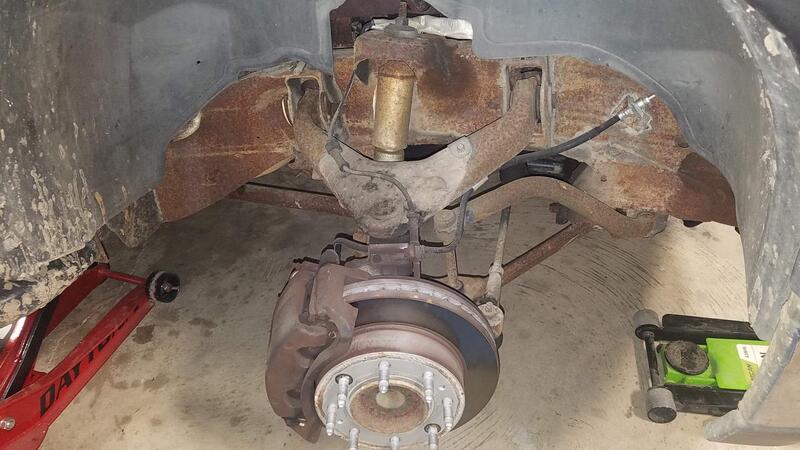
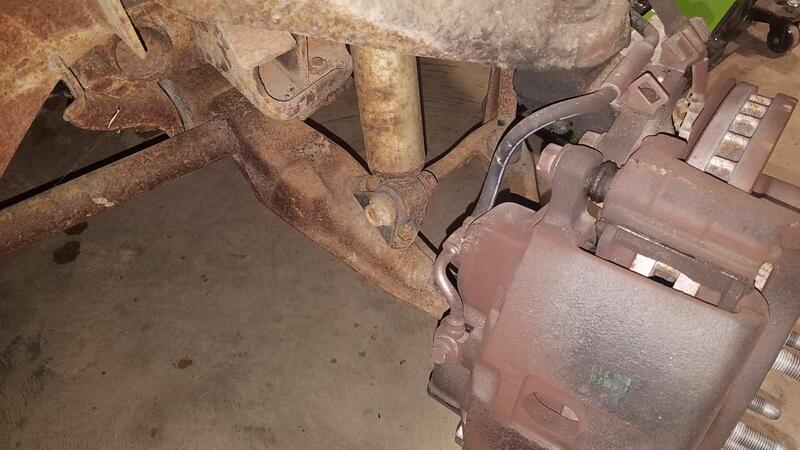
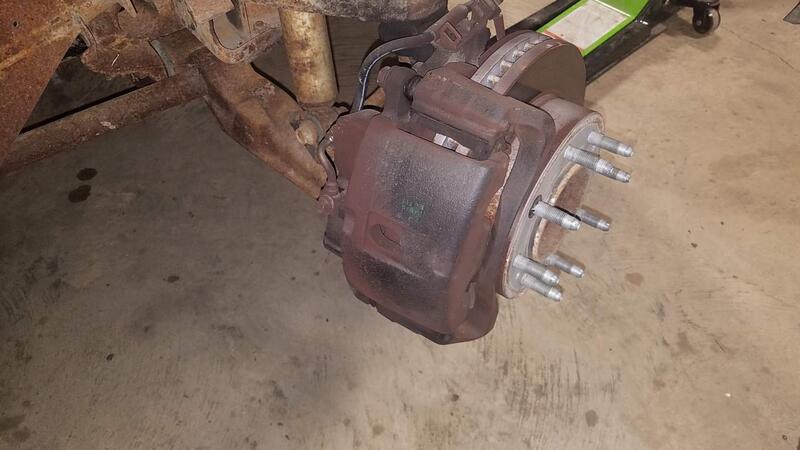
The old shock has a thru bolt on the bottom the ones I received have a yoke mount on the bottom so I will post them installed Wednesday when the new ones arrive. These 2500HD's (this truck is the very first production run) have massive brakes, check out the size of the caliper.
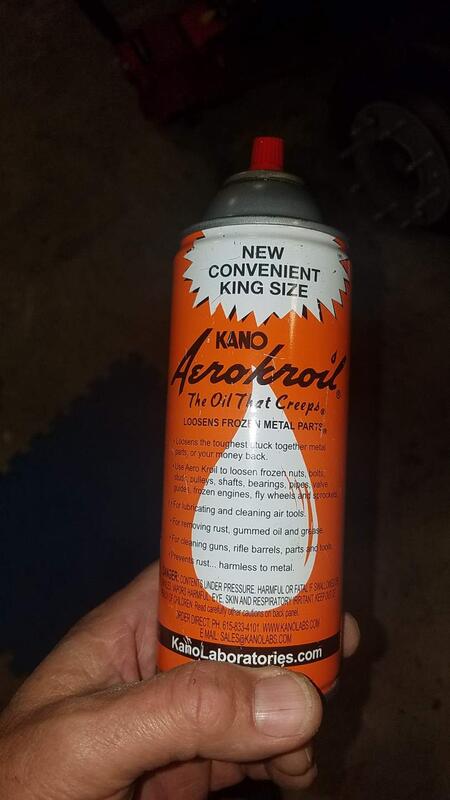
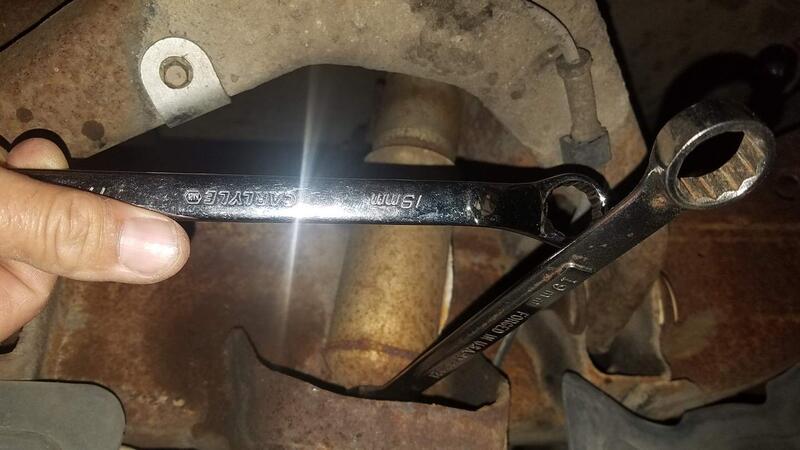
A bit of penetrating spray on the threads and 2 19mm wrenches and the top nut was off.
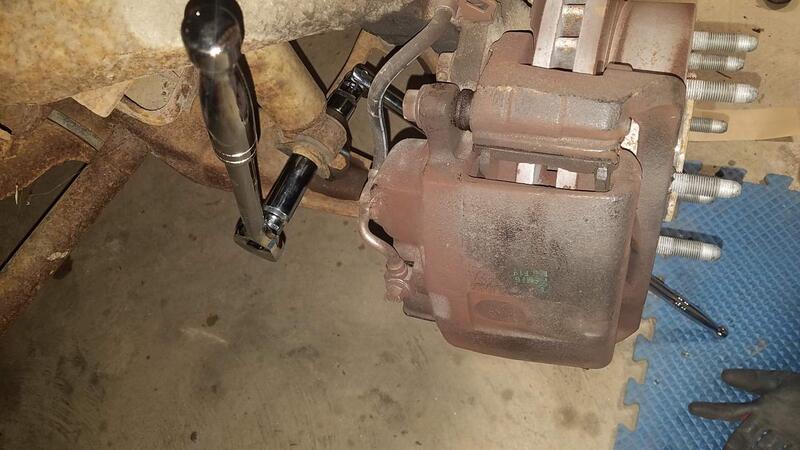
So if you are planning on replacing the front shocks on a Sliverado or GMC truck check out how the bottom of your front shocks mount before ordering. Once you see the way your particular shock mounts check the part number of the shock you are ordering at the manufacturers website to confirm mounting. Most shock makers show a picture of the shock by part number. Here I didn't do it and apparently Chevrolet made more than 1 2500HD. I have the 9200# chassis which uses the bolt thru the eye securing the bottom of the shock.
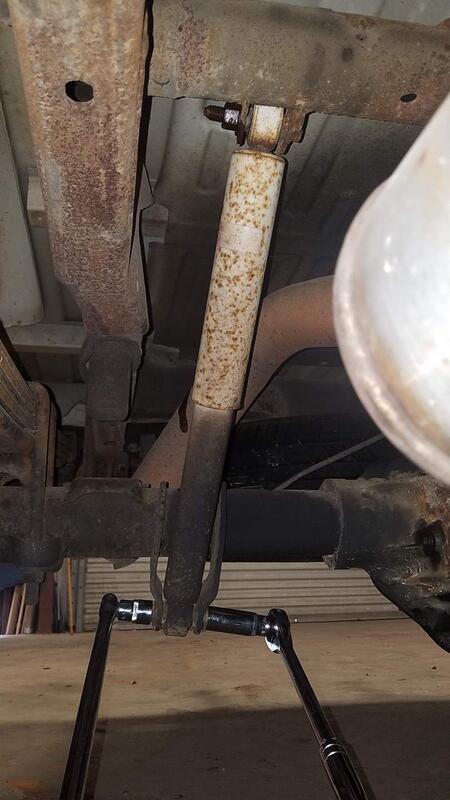
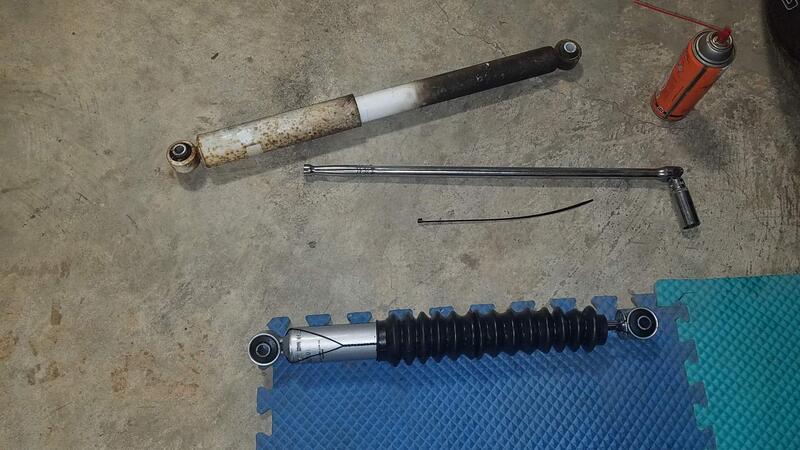
The rear shocks are pretty straight forward to remove but on re-install a couple of problem quickly came up. To remove I just sprayed the bolt threads then removed the mounting bolts.
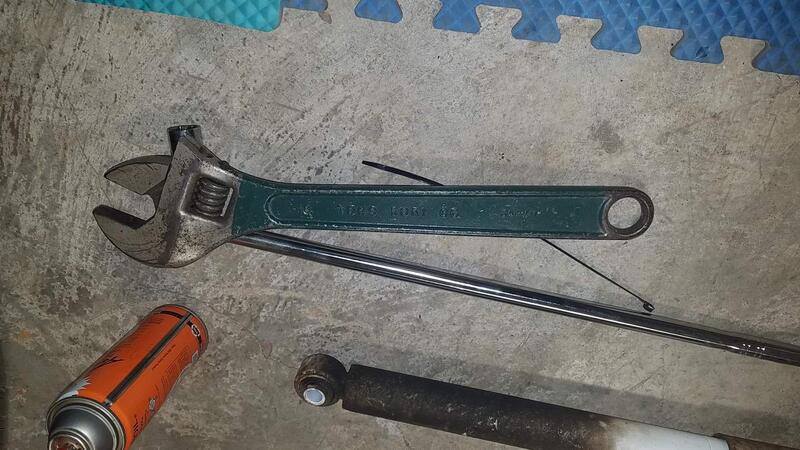
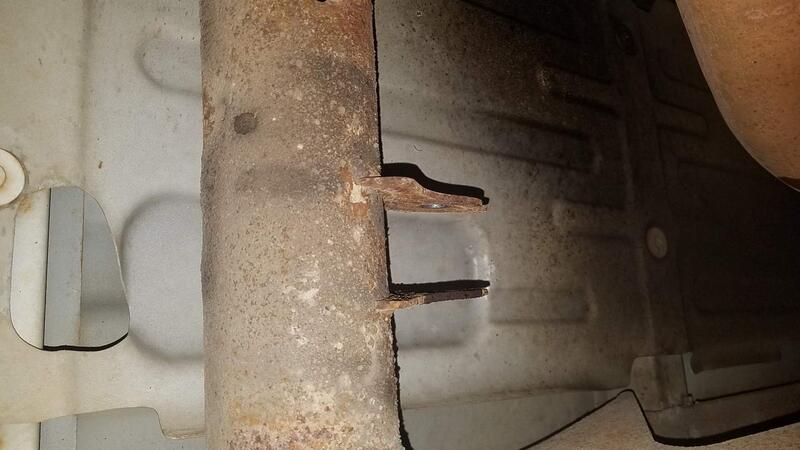
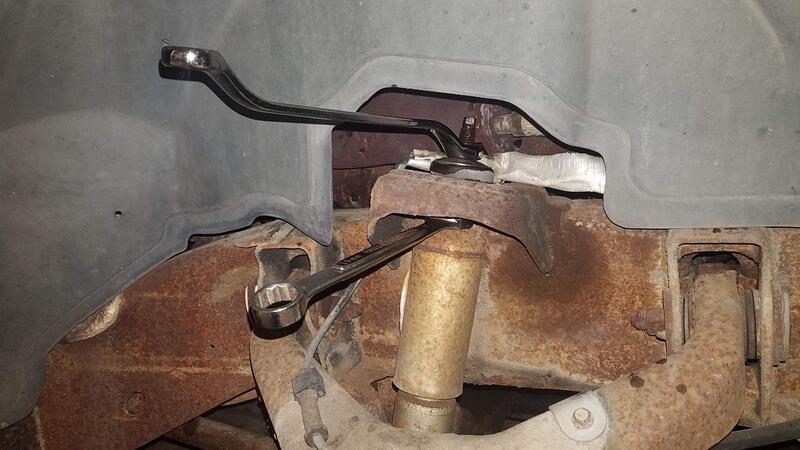
The upper shock mount was bent in from the mounting bolt mounting the original shock. I use a Jethro sized Crescent wrench to bend the tabs outward enough to allow not just the shock eye to clear but also the upper boot before installing the new shock.
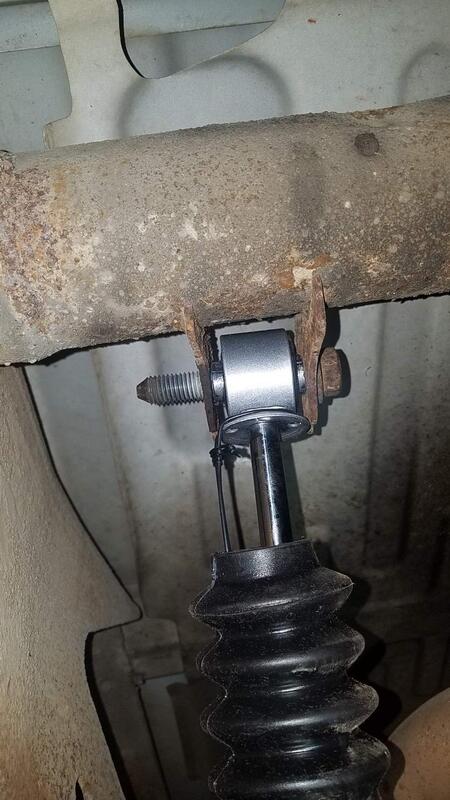
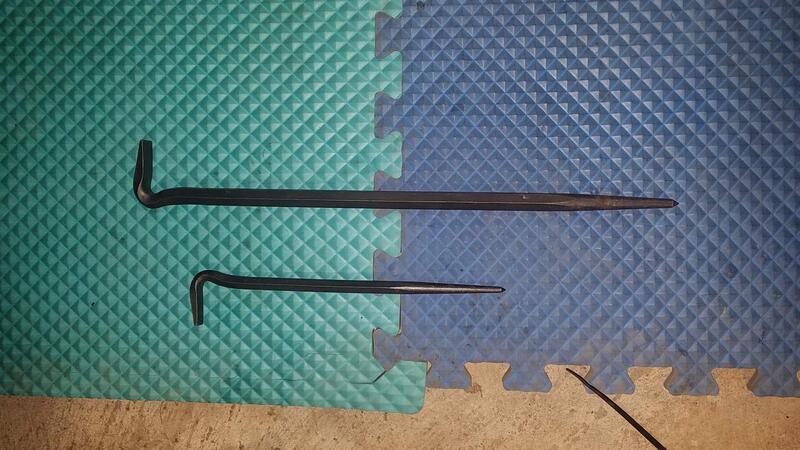
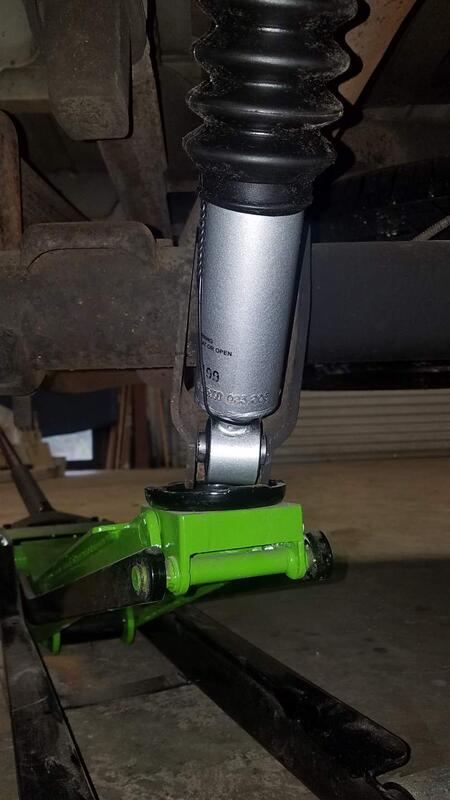
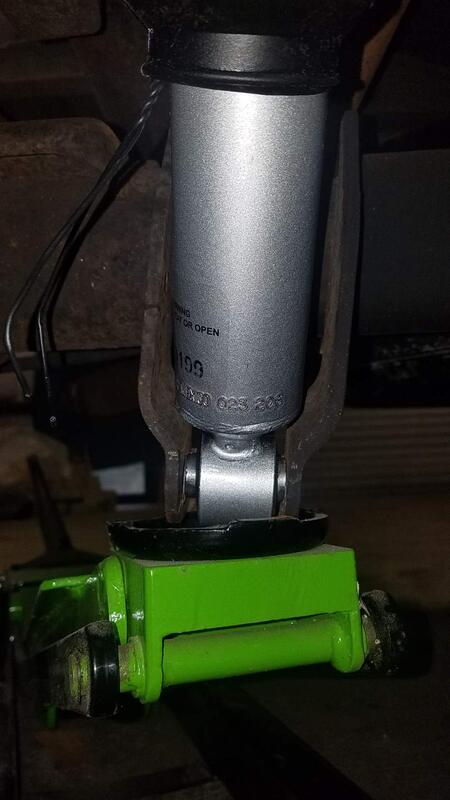
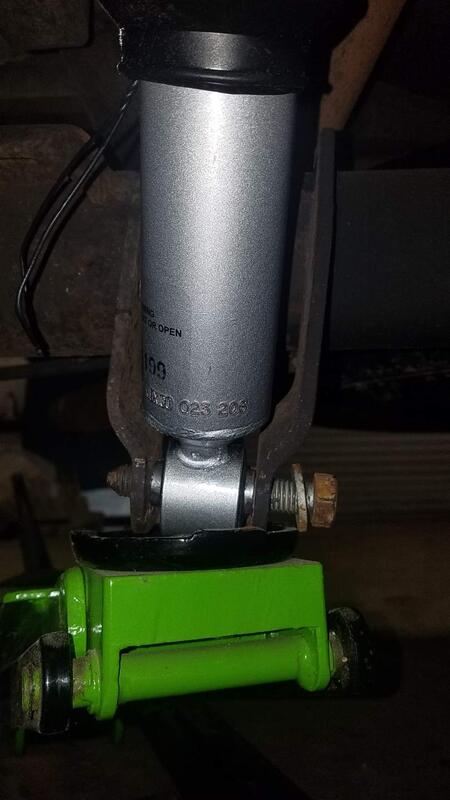
Since these are gas charged there is a wire keeping the shock collapsed a bit so it can be easily installed. I just positioned my Mercedes floor jack under the lower shock mount and applied a little pressure to the mount before cutting the wire on the new shock. As the shock extended to the jack pad face I used a alignment bar to line up the holes to install the mounting bolt.
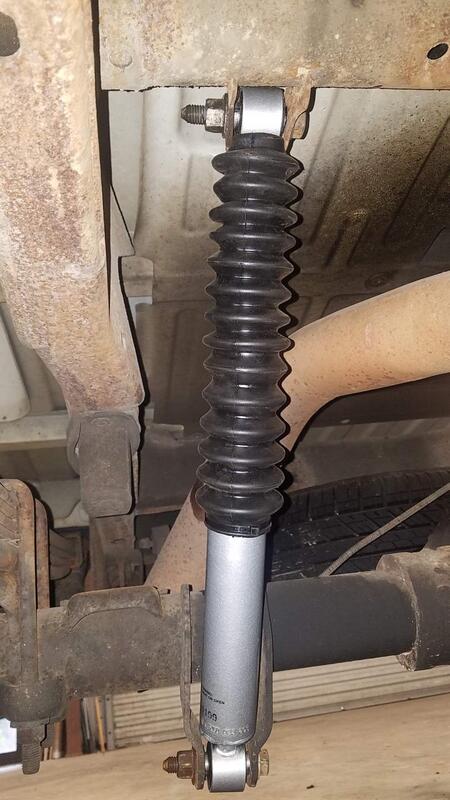
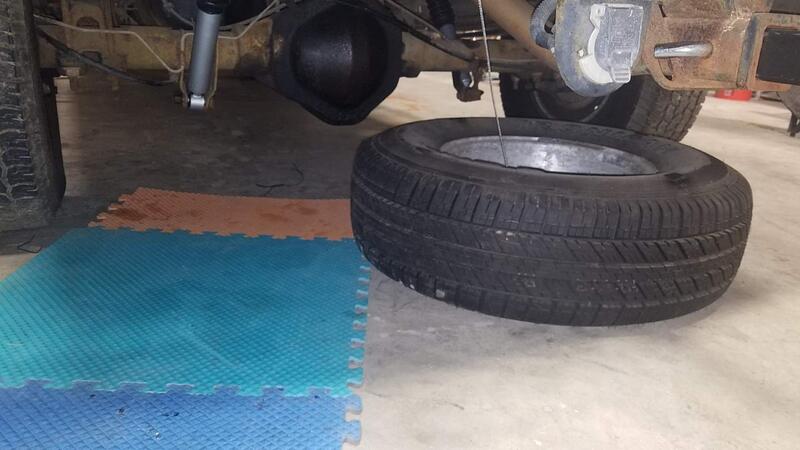
The upper boot was a bit of a pain to get around the top of the shock where it went before tightening the bolt and on the Driver's side I even had to lower the spare tire so I could get to the boot to attach the shock top properly.
Tags for this Thread
 Posting Permissions
- You may not post new threads
- You may not post replies
- You may not post attachments
- You may not edit your posts
-
Forum Rules
BACK TO TOP

 Likes:
  Thanks:


 Reply With Quote


