
HaHa:
0
-
 Triton 240LTS Trailer Restoration Time
Hurricane season is upon us here on the Gulf Coast and one of the Boat Evacuation Trailers is in bad shape. I need to knock this job out. Hopefully I can pick up the timbers I need Monday at a local Boat Trailer Manufacturer.
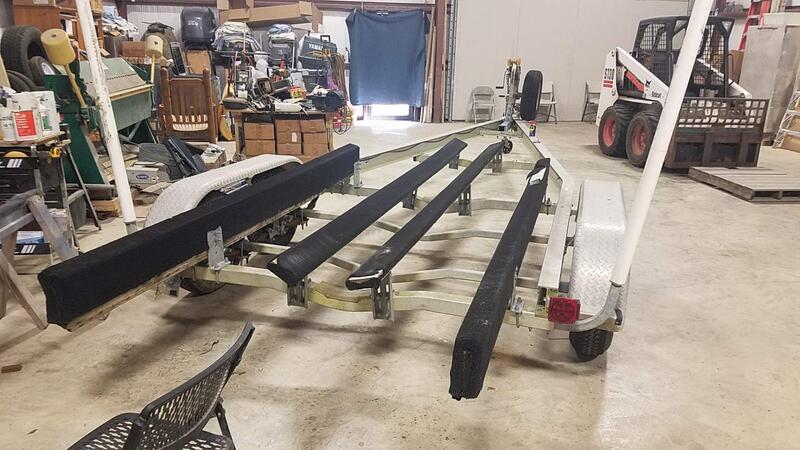

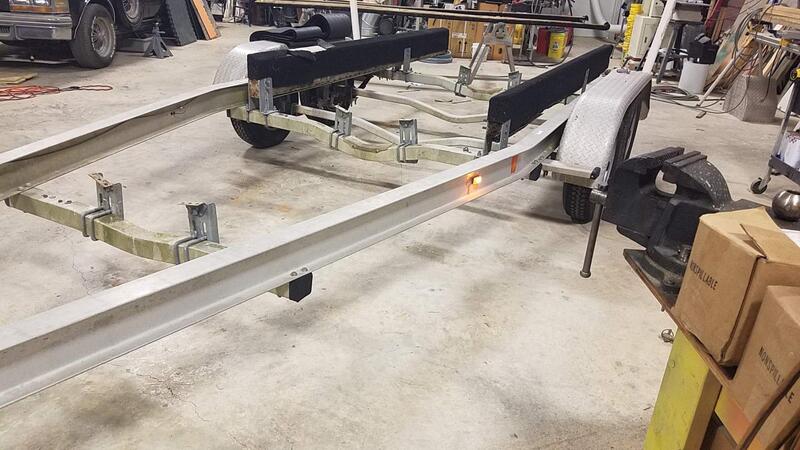
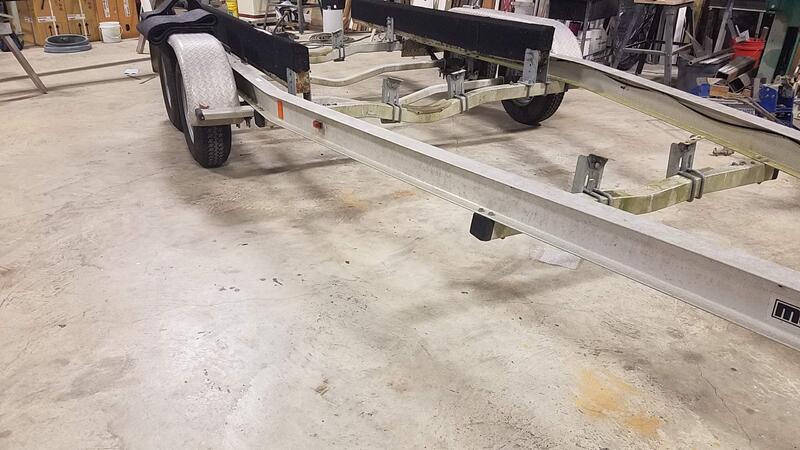
I re-carpeted this trailer 7-8 years ago. Also had to swap the Main Timbers around, drill some new holes, and cut off the Rot to squeeze more life out of them. This is a 2003 trailer that sits out in the weather without a boat on it. Weathered damage needs repairs.

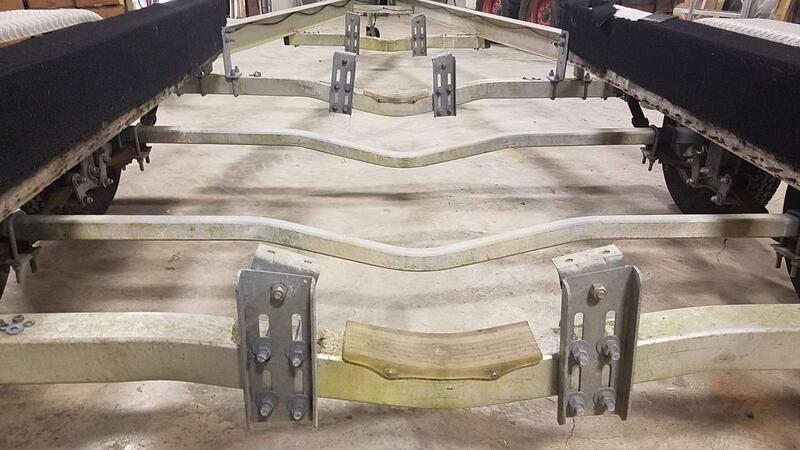
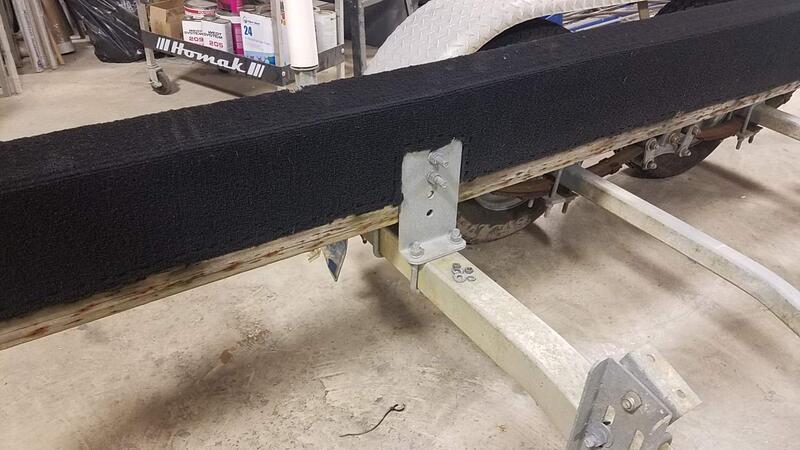
The last time this trailer was in here I replaced the inner bunk boards, they are fine just need carpet. I also replaced the Aluminum Timber Brackets with these Hot Dipped Galvanized brackets and upgraded the center brackets from single U-Bolt brackets to these HD Double U-Bolt brackets.
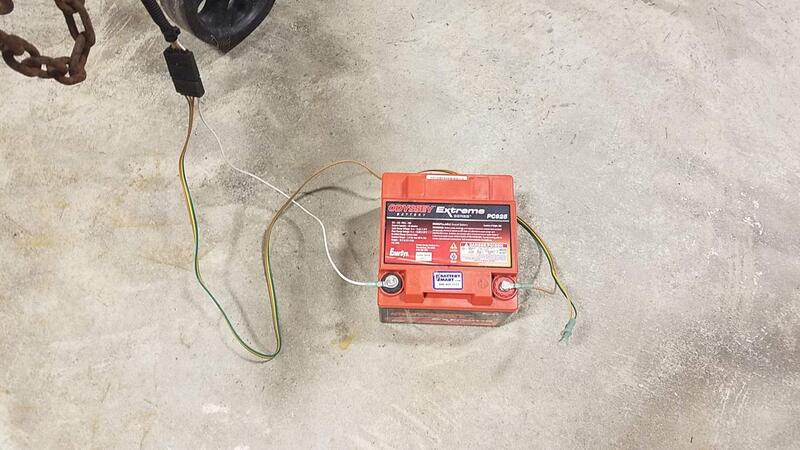
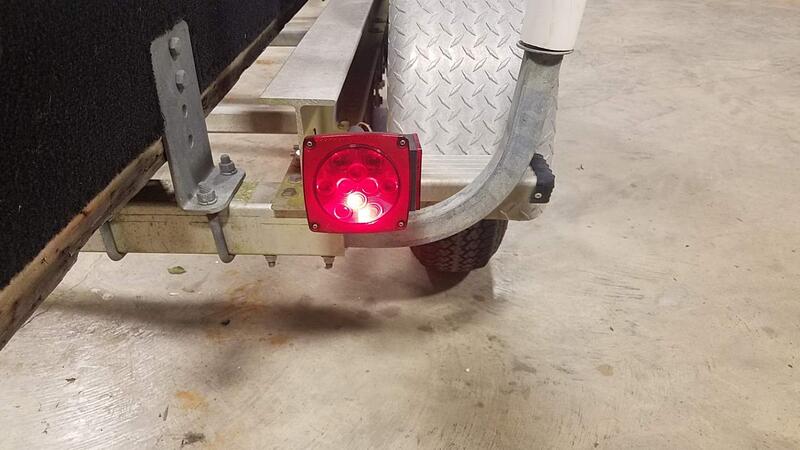
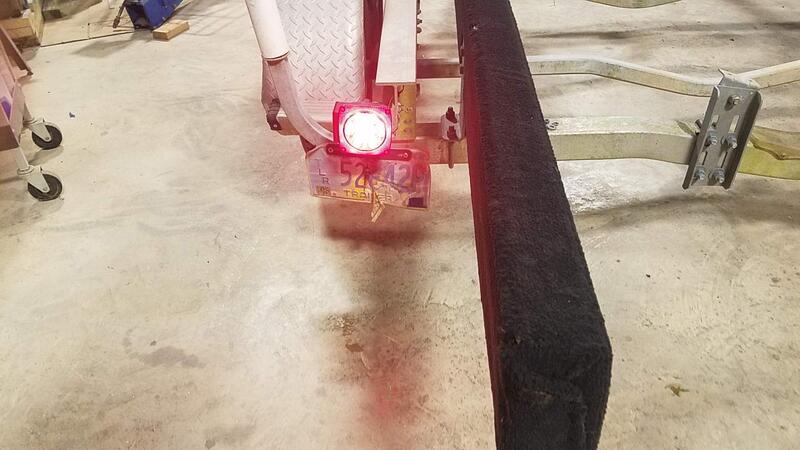
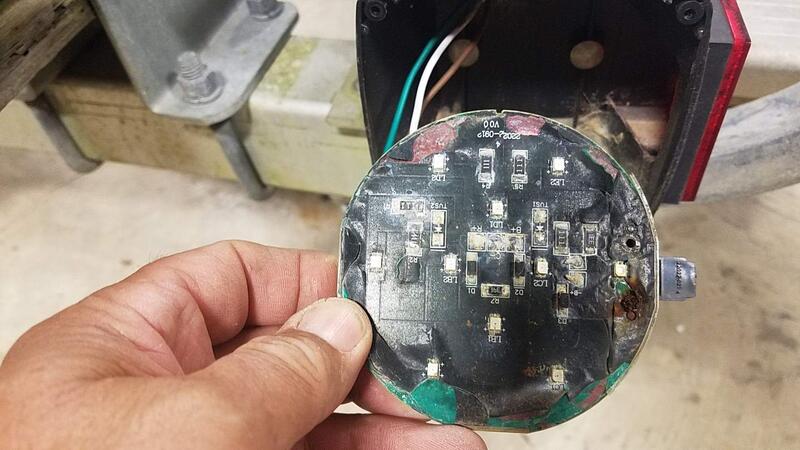
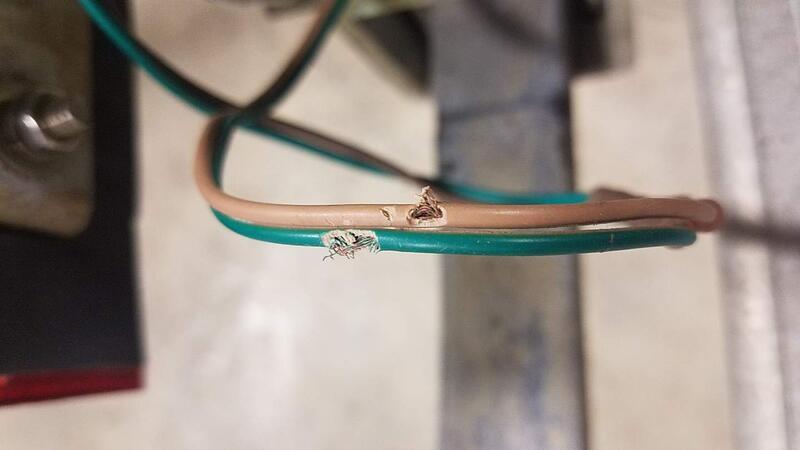
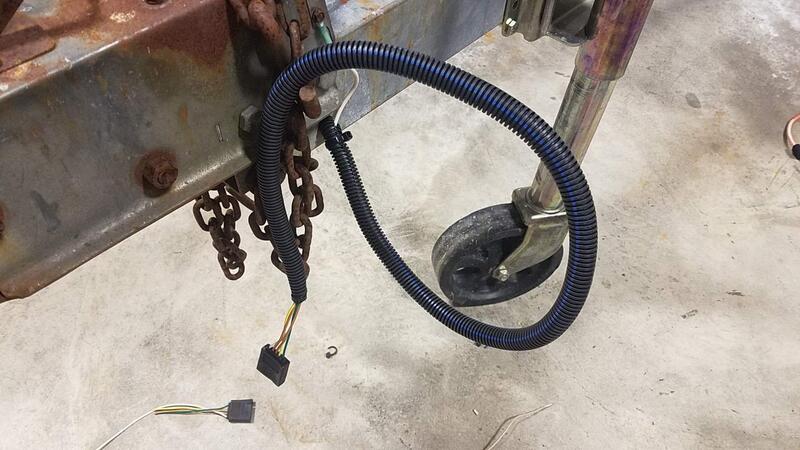
Where to begin in testing the lites? First I just plug in the battery to the trailer with the jumper harness I made. It lets me test each circuit individually. The running lites worked on Port side but 1/2 the LEDs in the Stop/Park lite fixture were toast. The Stbd side didn't work at all, 4VDC voltage drop out of the plug to that leg. The crimp on wire tap at the Side Marker lite was bad, and mice had chewed the wires in the back at the Stop/Park lite. While repairing the splice I happen to tug on the fixture leads and they moved. "That's not supposed to happen" I thought. Grabbed a Phillips #2 and removed the cover. The photo shows the LED plate had rusted loose as well as corroded to the point of not working. New Light fixture time! The trailer bonding ground connection was corroded too along with the inside of the plug itself so I slapped a new wishbone Harness on to cut my time losses.
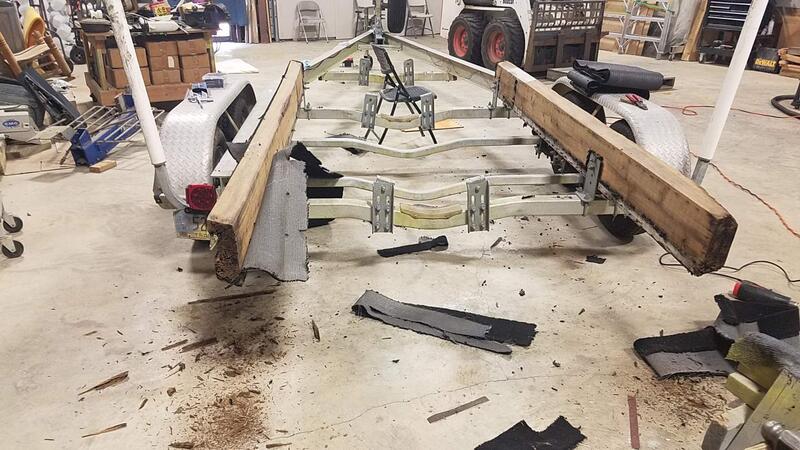
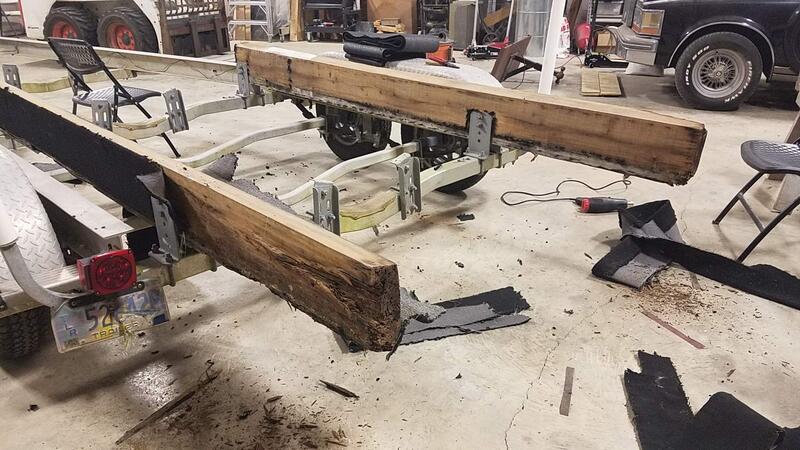
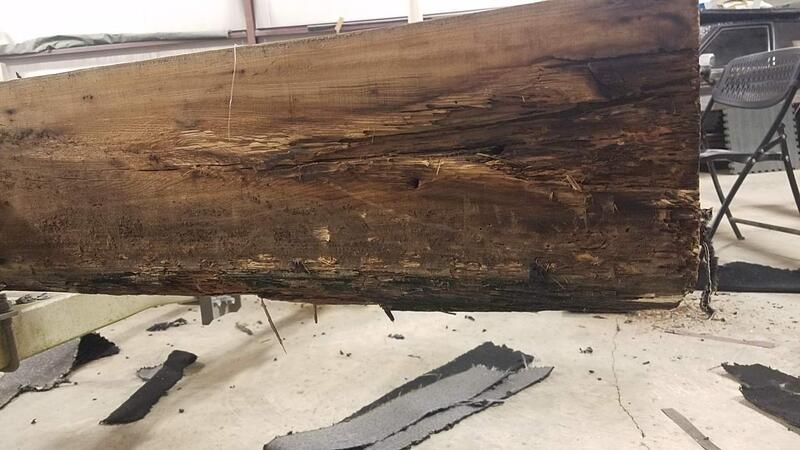
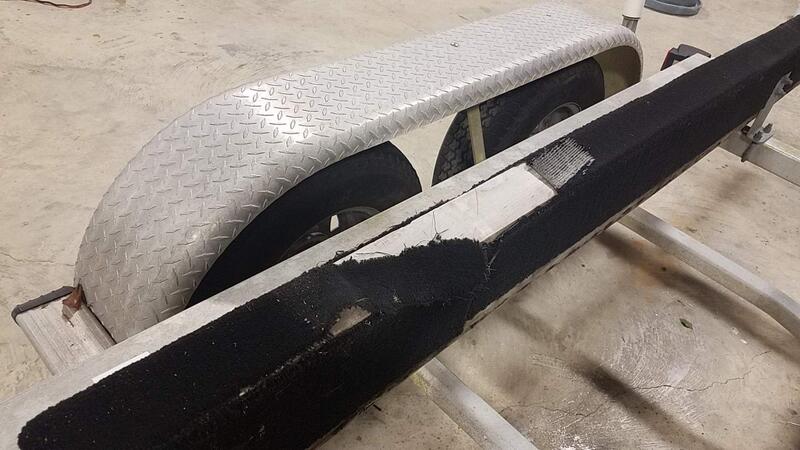
I have a Jethro sized Wonder Bar, about 2ft long. Makes stripping carpet and staples a breeze. Of course all I use is Monel 9/16in staples, they are like the day I shot them in. No saving the Timbers this time, Rot is too bad. Sport-Trail boat trailers is 10 minutes from me here, we actually use the same Aluminum Vendor, they deliver there first then bring me all the pretty Anodized stuff for making T-Tops. Monday I hope they will sell me a couple of timbers. Till I get replacements I have to leave the originals in place for measurements.
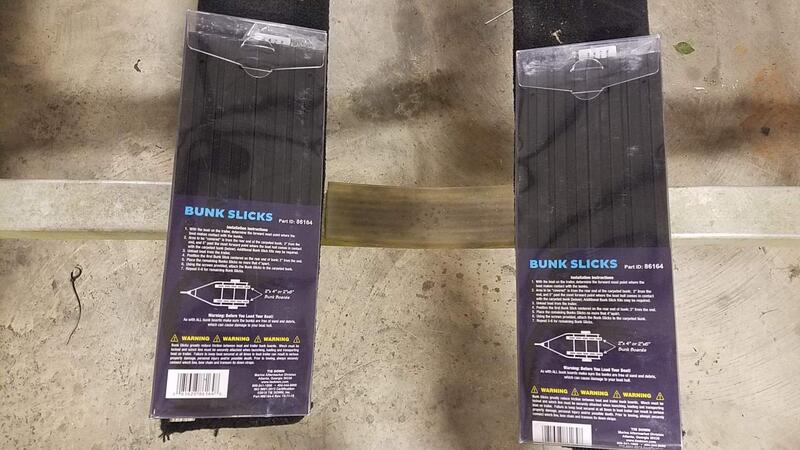
This time I'm adding Bunk Slicks to all the bunks to help the job last a bit longer. More later.
Last edited by Rojo; 02-18-2024 at 07:11 AM.
Reason: correct name
Tags for this Thread
 Posting Permissions
- You may not post new threads
- You may not post replies
- You may not post attachments
- You may not edit your posts
-
Forum Rules
BACK TO TOP

 Likes:
  Thanks:


 Reply With Quote


