
HaHa:
0
-
 GE Front Load Washing Machine Bearing Replacement
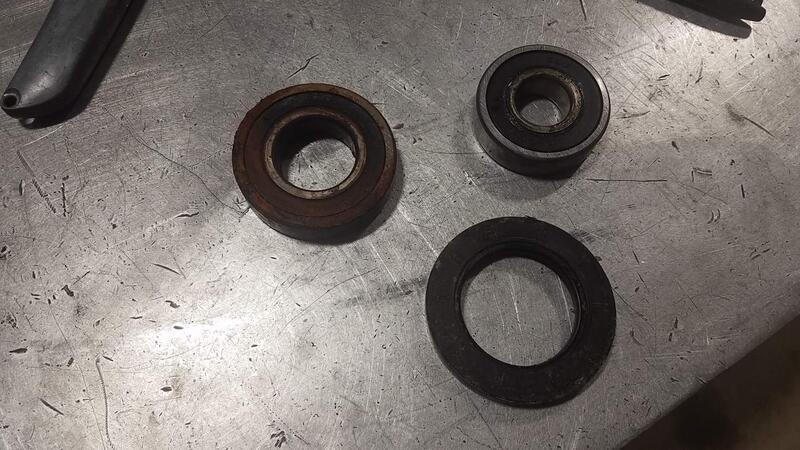
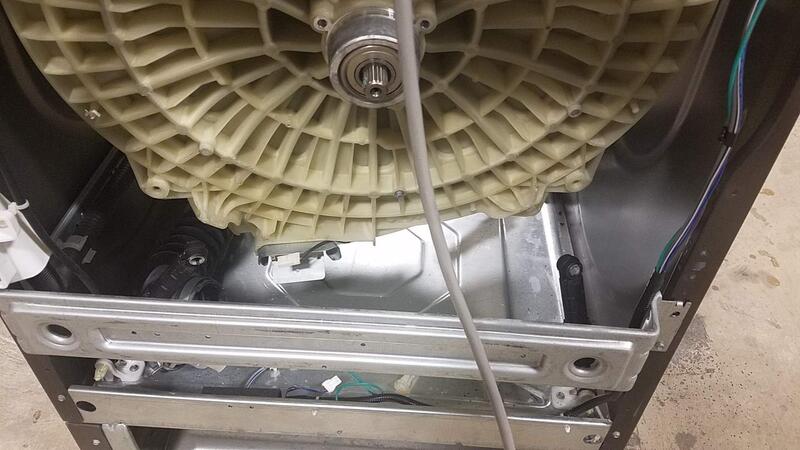
My Wife's favorite washing machine bearings went out during Covid. No parts could be had. I had to buy another machine for her because I make a lot of dirty clothes and hate to do laundry. This has been tucked away in my shop waiting for it's turn to be repaired. Not thinking I knocked the old bearings and seal out, reinstalled the new ones, and polished the shaft before thinking of posting this project. Since its picture heavy it will take a few posts to cover everything. If you have a front load washer bearings are cheap and easy to get now. I bought my bearings from frontloadbearings.com. They have a video series on how to remove and install the parts. I used a long brass drift and a hammer to remove and replace the parts.
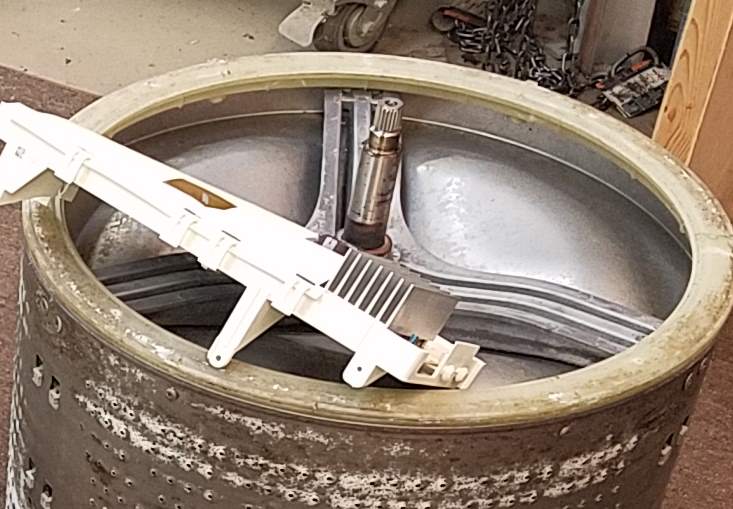
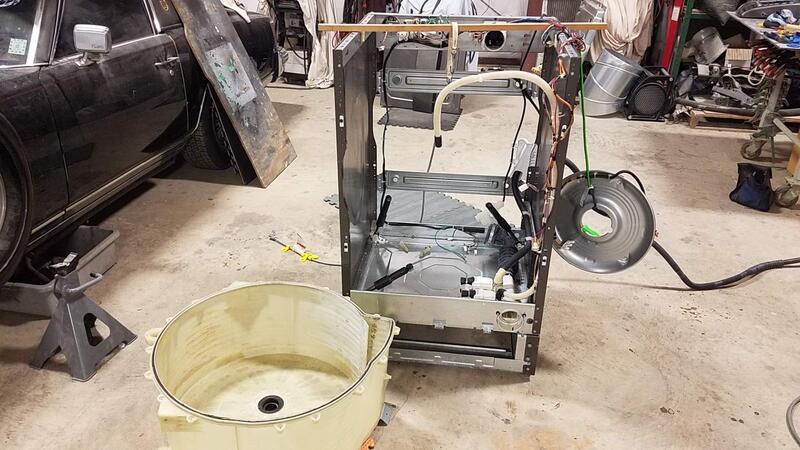
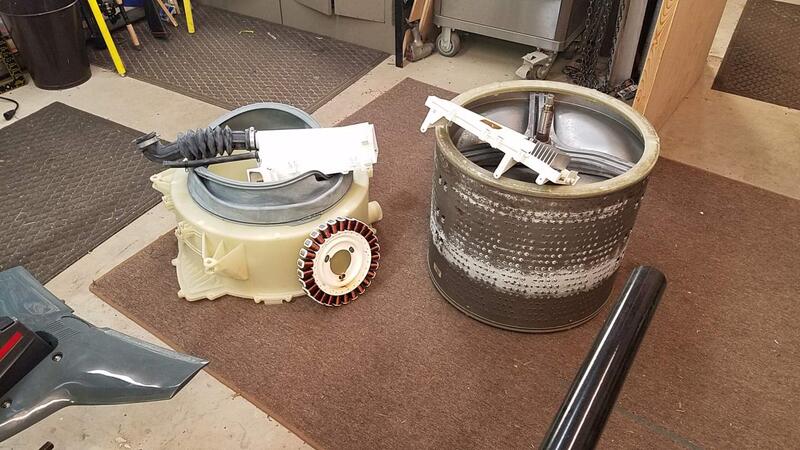
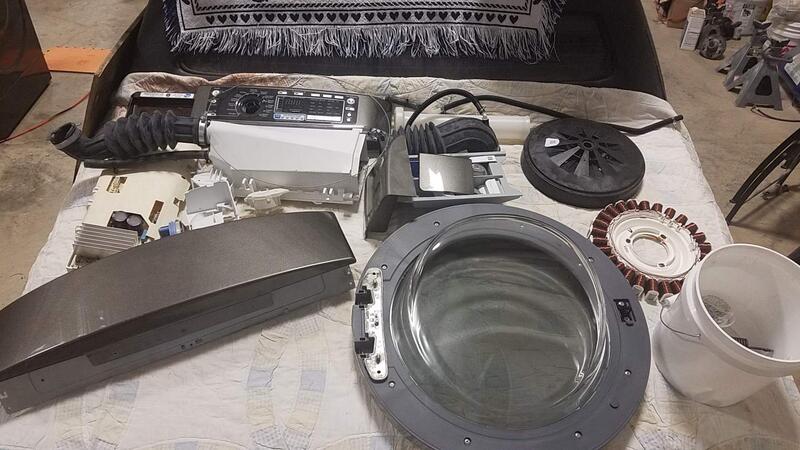
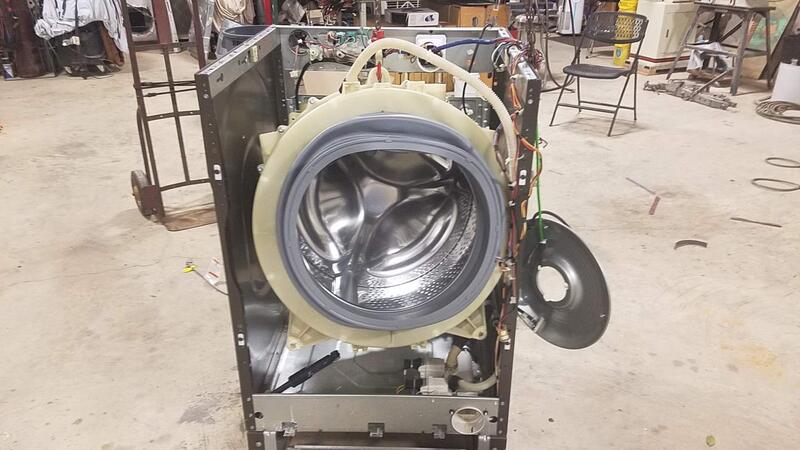
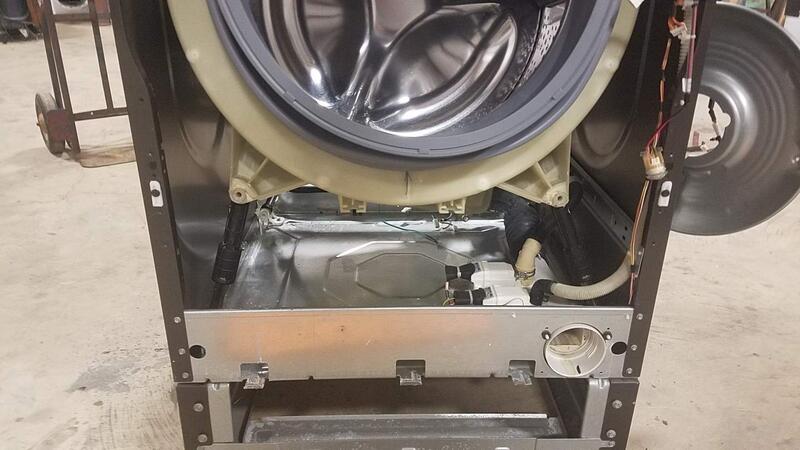
I had to strip almost everything out of the Cabinet to do this job, my plan here is to walk you thru putting everything back together. The Cadillac is doing double duty as a parts shelf.

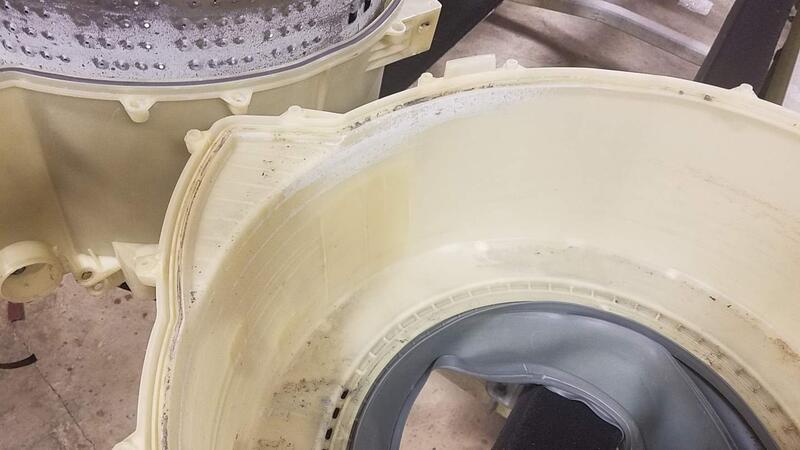
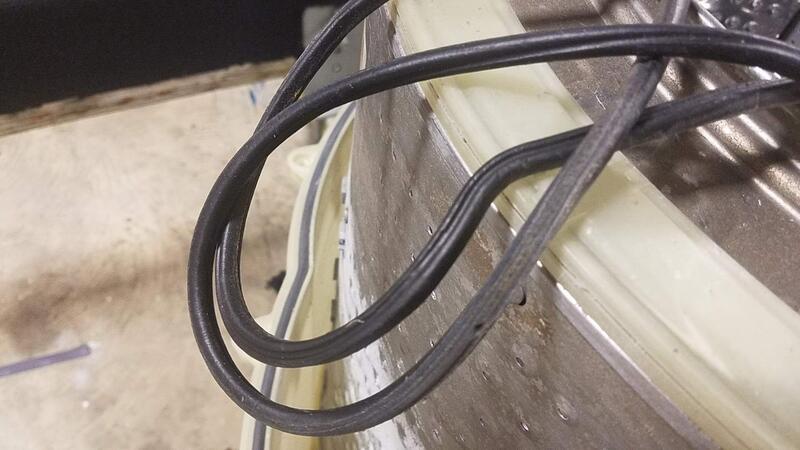
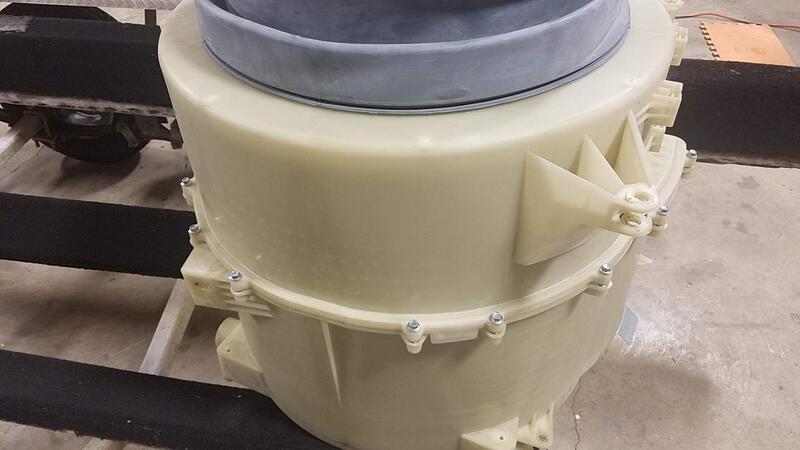
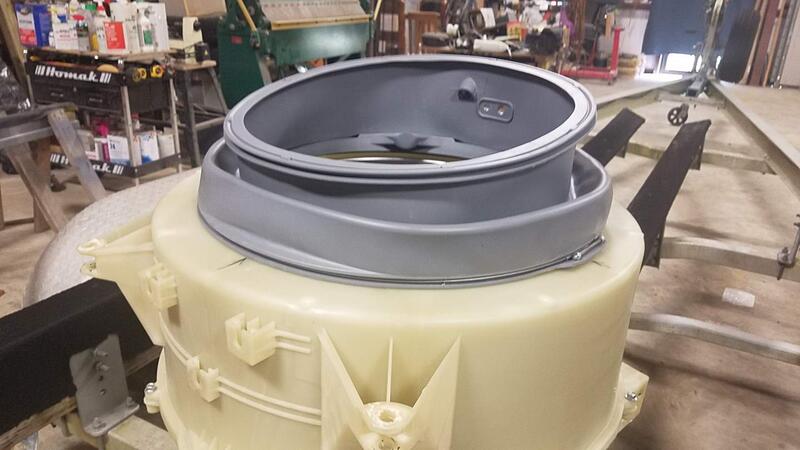
After installing the bearings and polishing the shaft down with 500 grit first then Crocus cloth it is time for re-assembly. The first thing I had to do was clean all the leftover funk out of the two halves of the tank. Dog hair, lint, soap deposits, all had to be removed. Where the two halves come together is a foam O-Ring gasket. The factory service manual said I didn't need to replace unless it was torn but in the picture you can see it had a pattern memory in the gasket. If it leaked I would have to strip the entire job back down to fix.
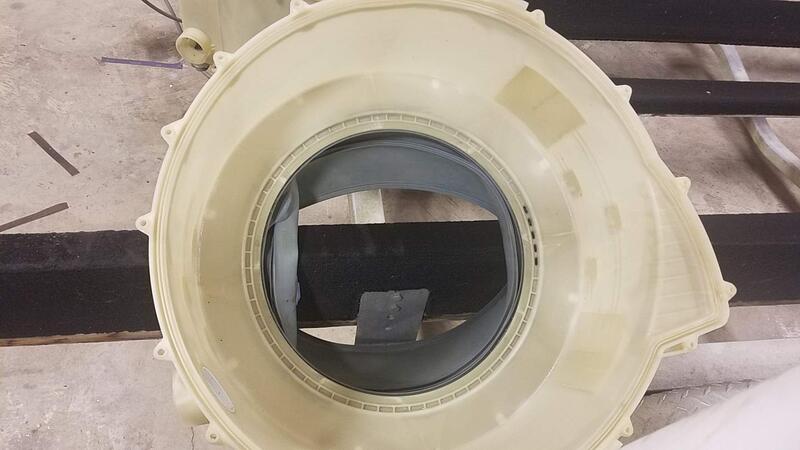
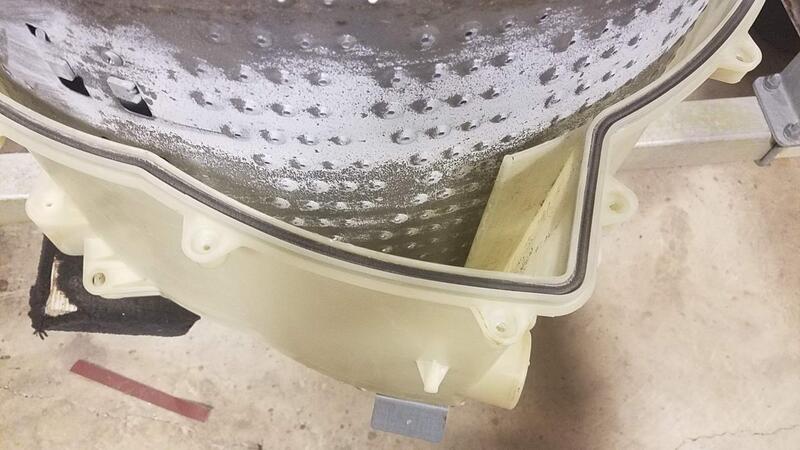
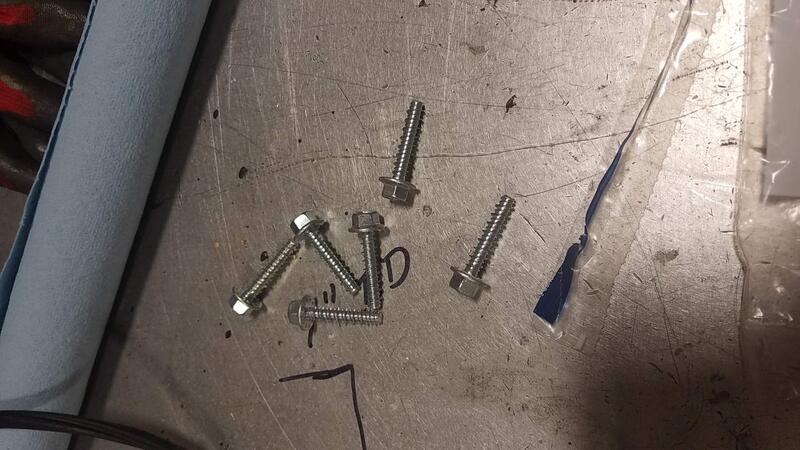
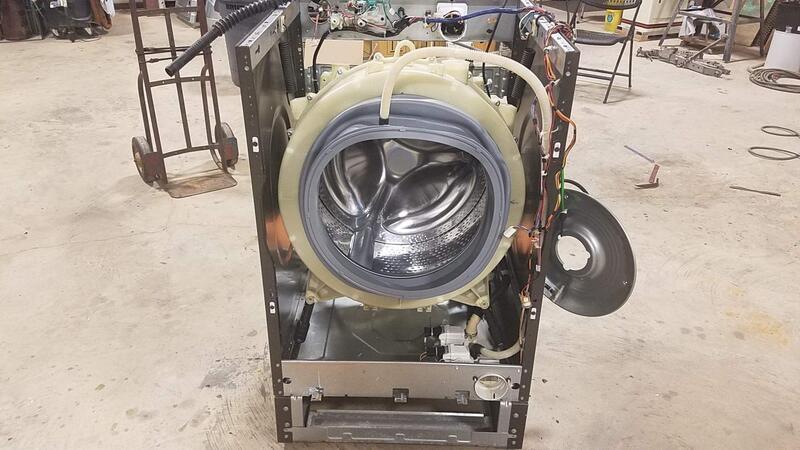
Once all the groves in the other half was cleaned out I mated the two halves back together and torqued the bolts.
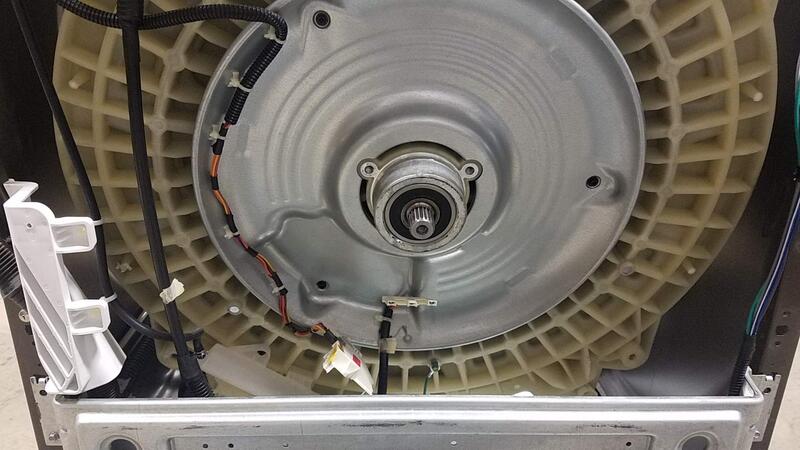
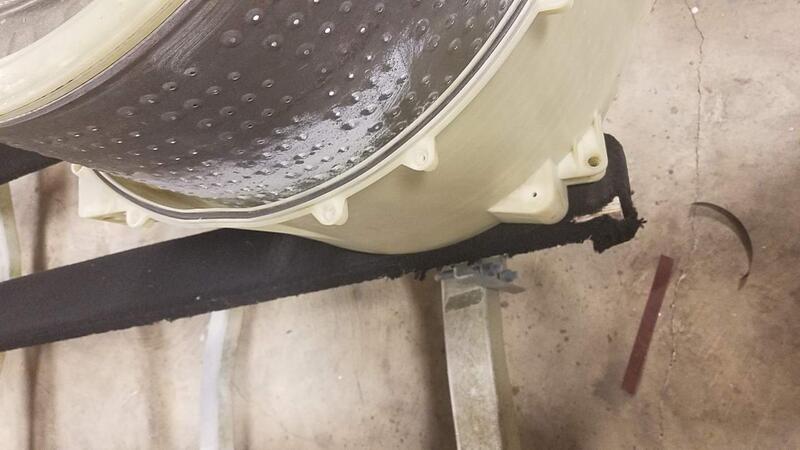
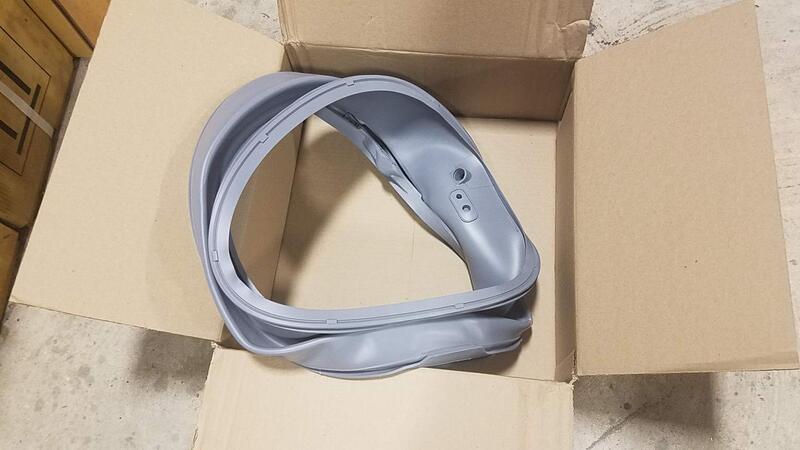
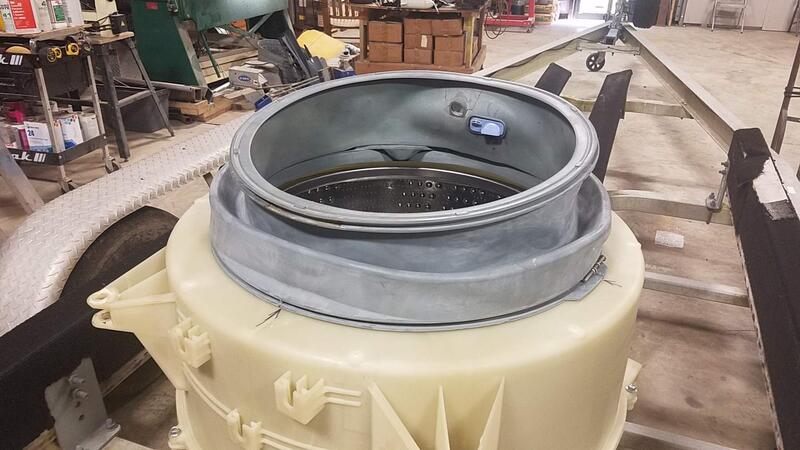
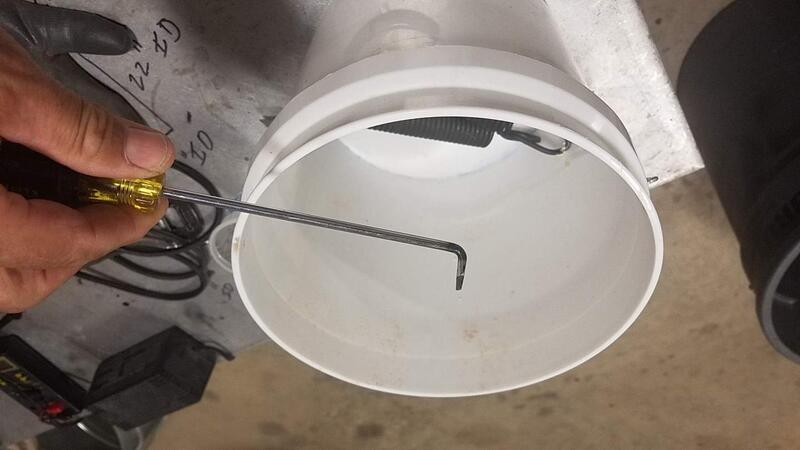
Not wanting to reuse the Tank gasket as it has multiple sealing surfaces. I bought a replacement. We have used this machine enough to sling the bearings out of it and plan on doing it again. Being a "Magnet Drive" the only wear parts are bearings, seals, dispenser motor, water valves, pump, and circuit board. All but seals and bearings can be replaced without too much trouble in most models. The inside gasket clamp was stuck bad, I had to use my trusty Klein Screwdriver to free it from the groove.
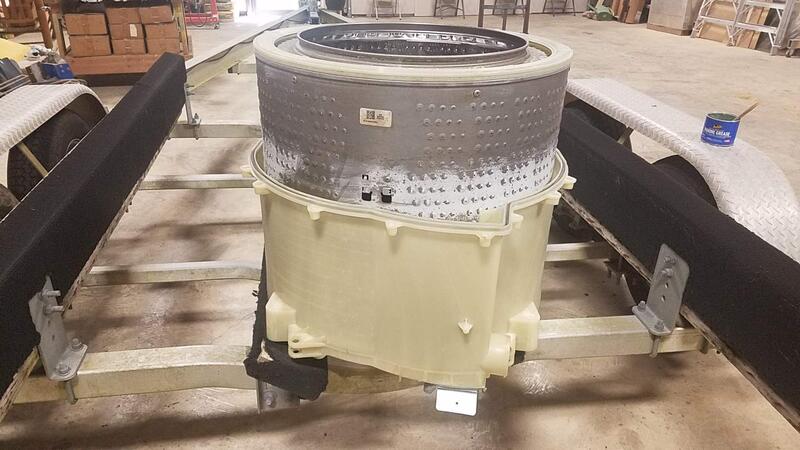
I decided to use the hoist I have for installing and removing T-Tops in boats to install the completed tank into the cabinet.


All the stabilizers were reconnected, the upper springs were reattached, then I could release the tank from the hoist. More in the next post.
Last edited by Rojo; 02-18-2024 at 07:17 AM.
Tags for this Thread
 Posting Permissions
- You may not post new threads
- You may not post replies
- You may not post attachments
- You may not edit your posts
-
Forum Rules
BACK TO TOP

 Likes:
  Thanks:


 Reply With Quote


