
HaHa:
0
-
 Insulating Dometic RM2652 Refrigerator Opening and Removing Vent Turbulance
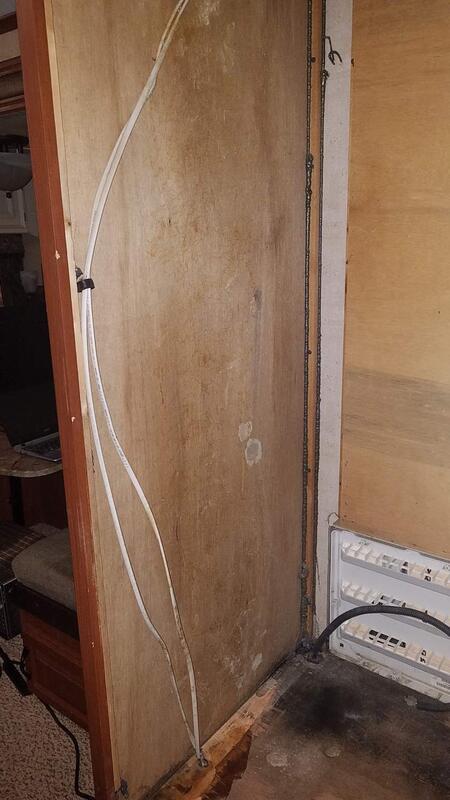
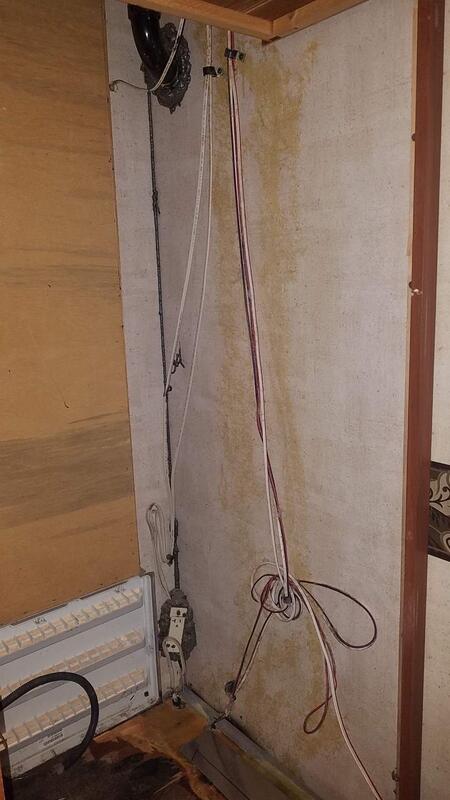
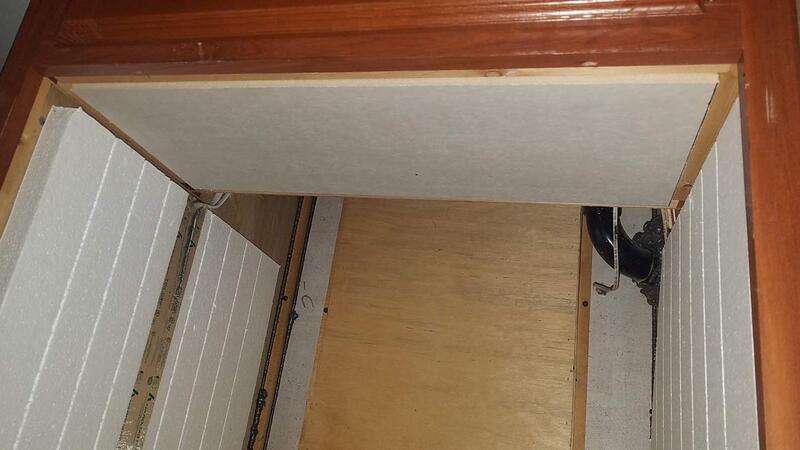
In our previous Motorhome I had to perform a Cooling Unit replacement in the Refrigerator. When I pulled the Refrigerator to repair it the unit had a insulation blanket. When I pulled the Refrigerator in this case there was just 2 6in wide, non-backed, wispy, bit of fiberglass strips. One on each side. The pictures show where the glue was and how little of it was used. Little insulation, little glue. The wires were as you see them here. I'm not sure why the little insulation was applied because it didn't do anything.

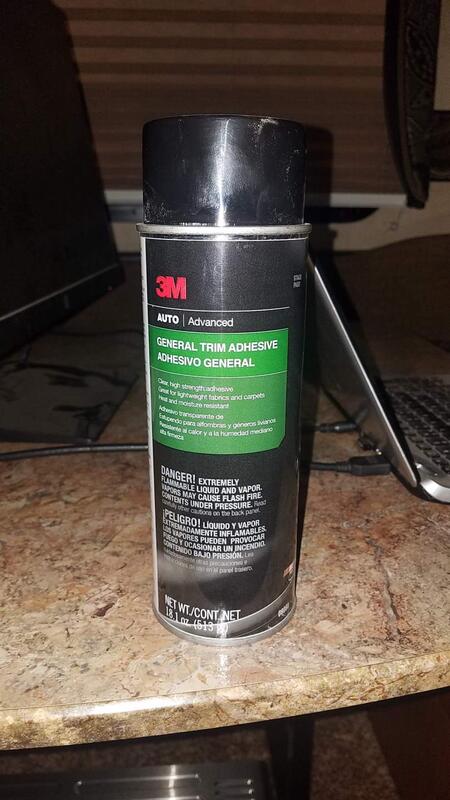
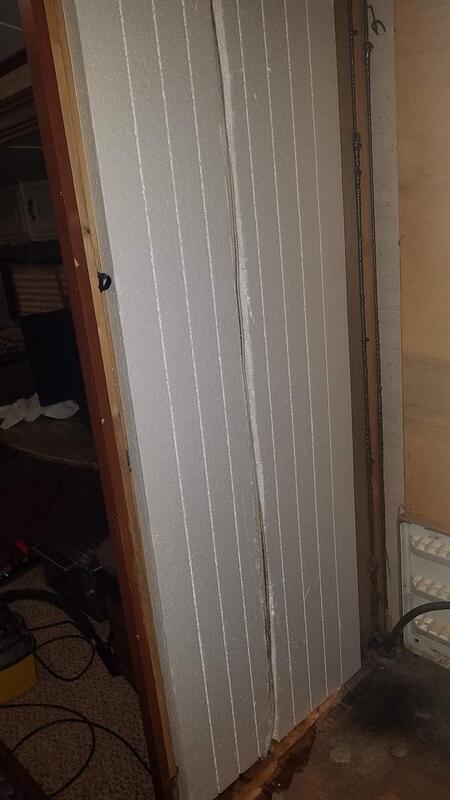
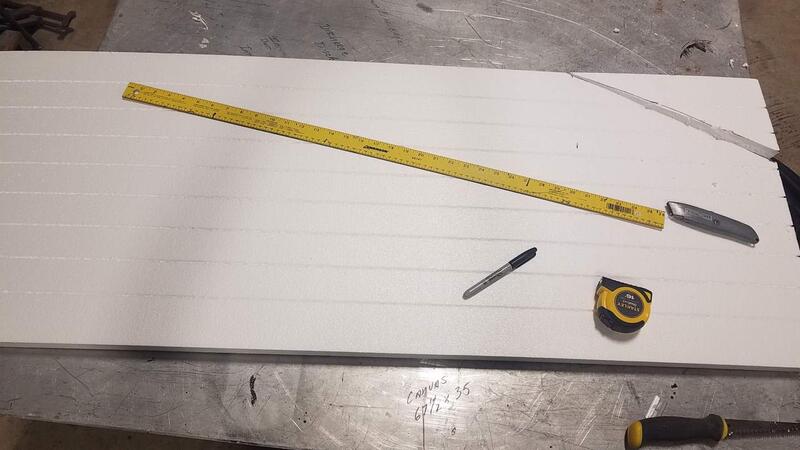
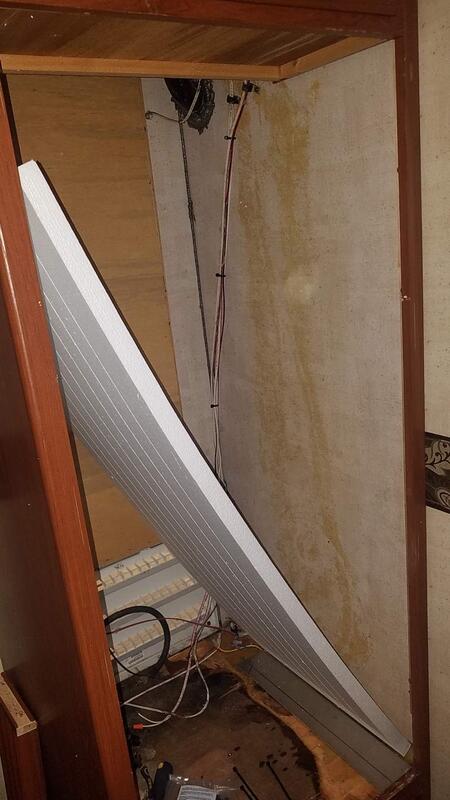
So Bon Temps and I was fishing when He offered some insulation He had leftover from a job at his house. Not sure what he had I went to his place instead of letting him bring it to me to check it out. Turns out the insulation being rigid white bead foam with a backing was perfect. I didn't even need to trim this first panel before installing. I usually use the 3M Heavy Duty Trim Adhesive but had a full can of the General Trim Adhesive on hand that was getting old. After moving the wires out of the way and placing the first panel in position to just stand it up I applied a heavy layer of the contact cement to both Panel and insulation. Contact cement needs a bit of time to dry before pressing the insulation in place. Once glued in place the wires need addressing.
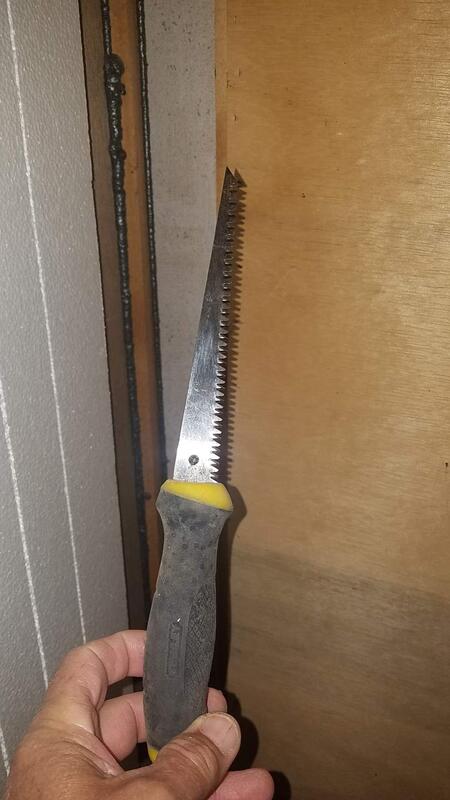
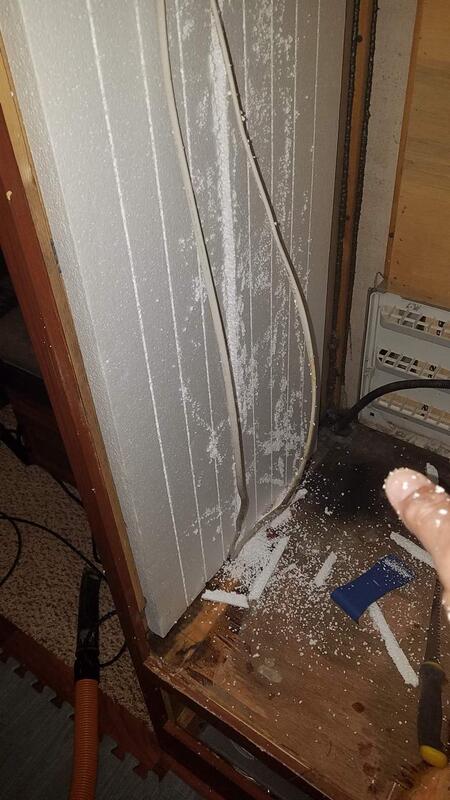
Using a small coping saw I cut a trench to allow the two Romex wires to recess into the insulation preventing me from snagging the wires when re-installing the refrigerator.
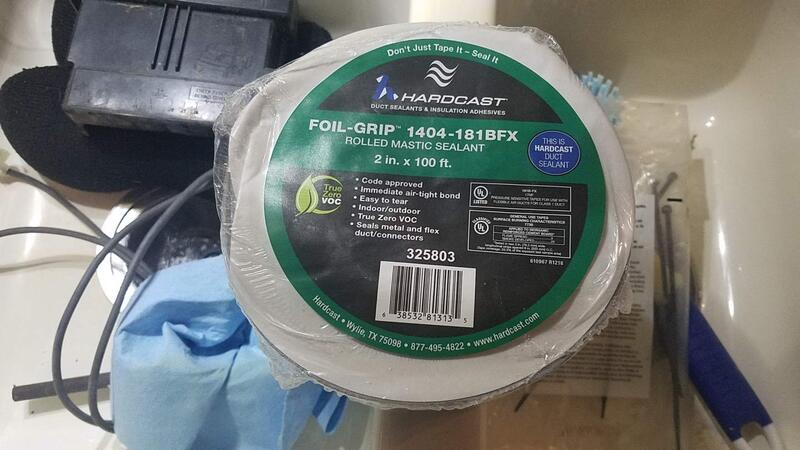
To keep the wires secured inside the groove I use this Aluminum backed Mastic duct tape. Once the Mastic cures you can't remove it.
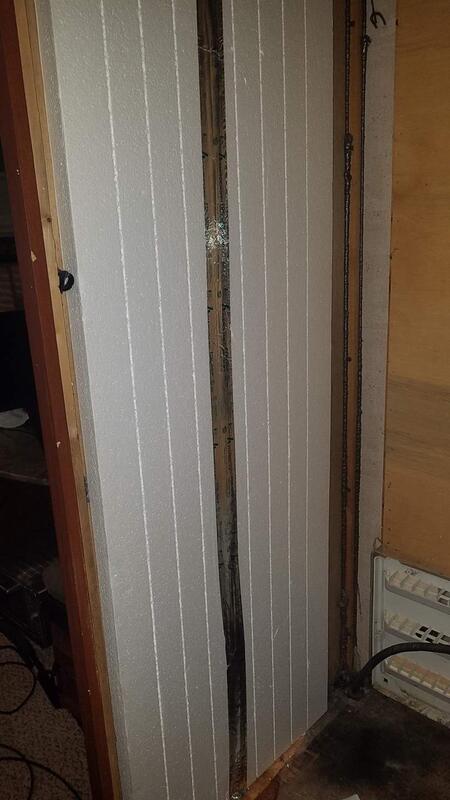
The same task is done to the opposite side of the opening but too many wires were in the way. I rerouted the wiring to the back of the cabinet, tie wrapping them together so just the corner of the insulation needed to be removed before installation.
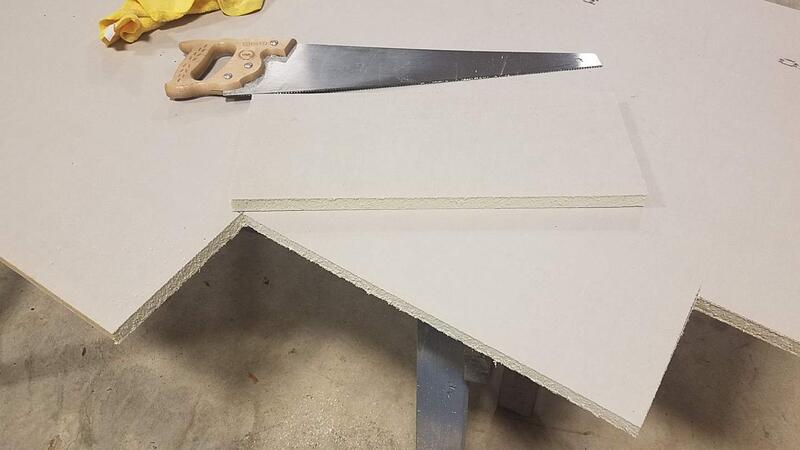
I didn't have much clearance overhead for insulation so I cut a piece of this 1 inch thick foam used to make insulated fish boxes, bilge flotation, noise dampening, etc to fill the void under the cabinet. The same glue was used for the install.
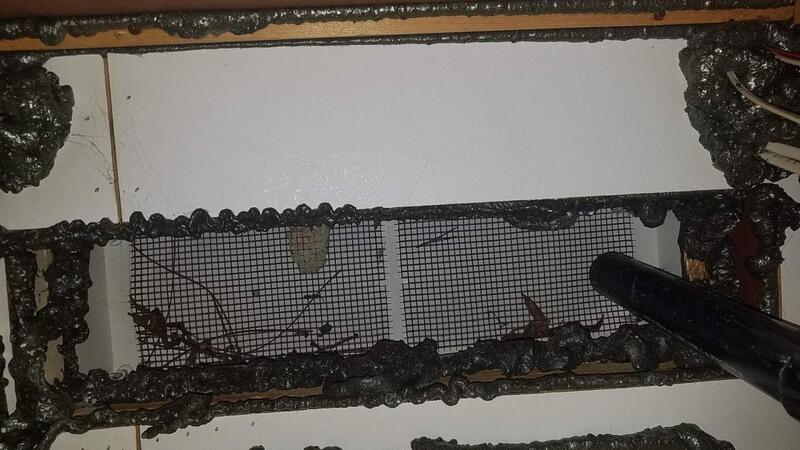
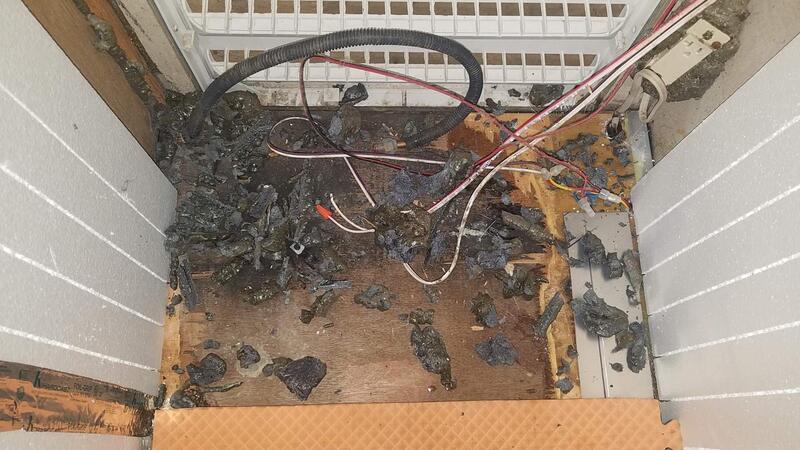
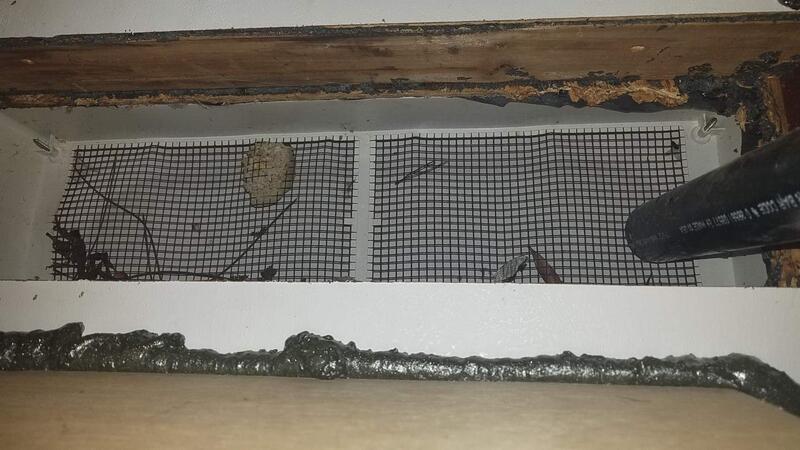
How these refrigerators work is by absorption, waste heat is expelled thru a coil on the back of the fridge, the waste heat is supposed to just rise up and out of the vent in the roof. Look at all the foam sealant that was just applied randomly creating air dams causing turbulence at the vent. The new cooling unit comes with a thermostat and fan to help support proper function of the waste heat coil. Before the refrigerator goes back into this cabinet I must correct this. While replacing the roof I will have access to the roof sheathing to trim the jagged, raw, opening area left by the manufacturer. First I had to remove all the foam that was in the way which was very easy because it was not stuck to much. Just a wipe from my hand and down it came.
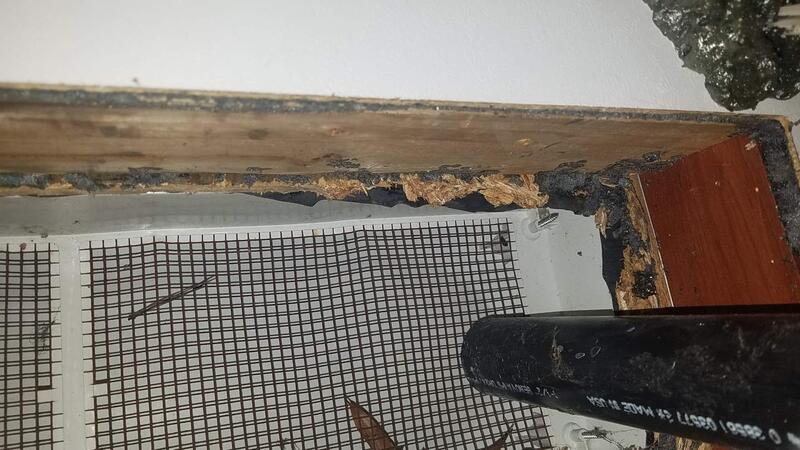
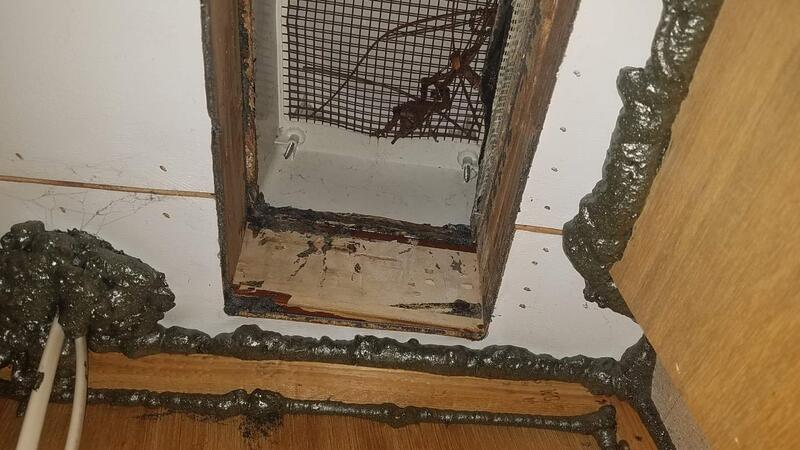
Here are pictures after removing the expanding foam. As you can see none of it was stuck. If you have had the pleasure of removing Great Stuff Foam from places it didn't belong you know it leaves a residue that is terrible to get off. Not here, it almost fell off.
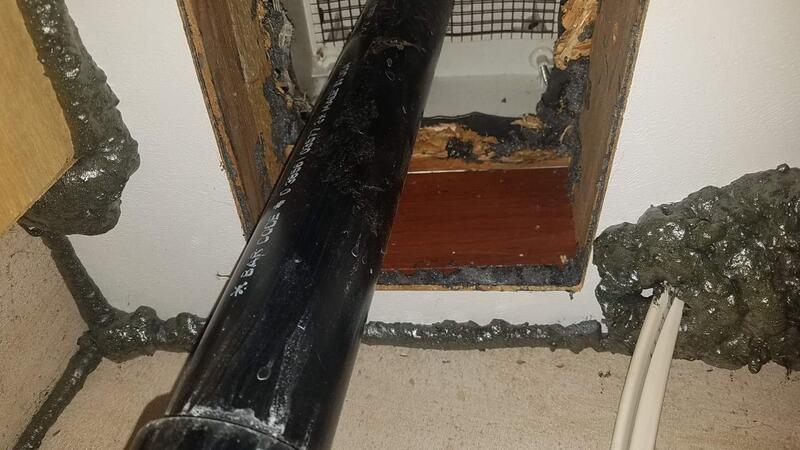
Look at the way they did the roof opening. The roof membrane is supposed to be wrapped inside and stapled down but no they didn't even bother to cut the wood all the way around but broke off parts of it.
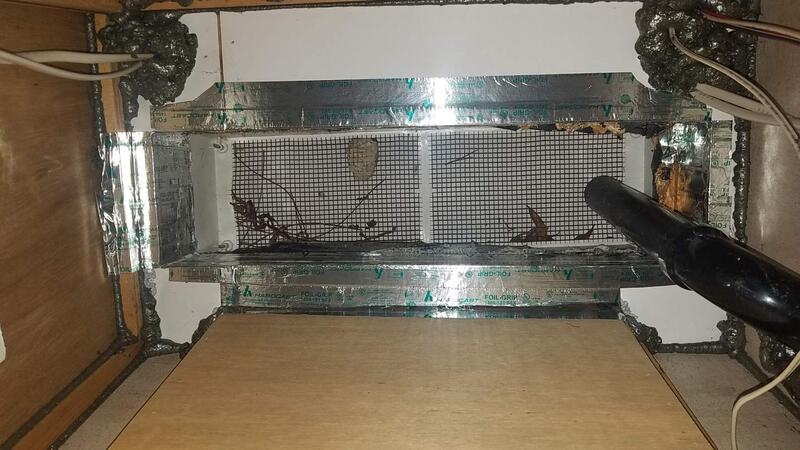
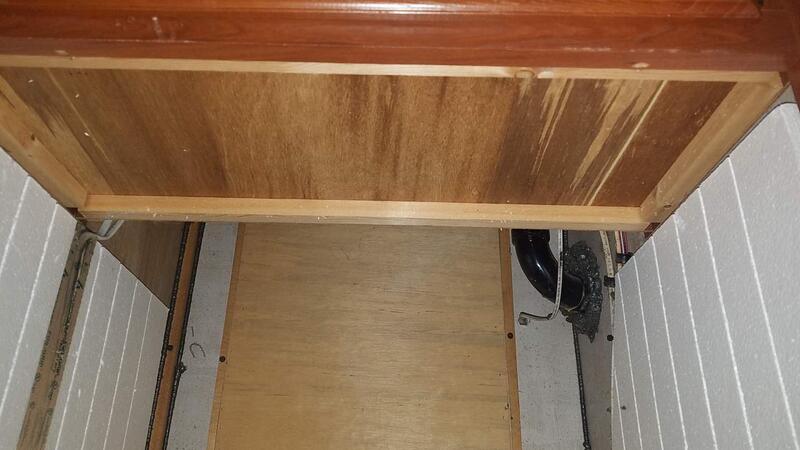
Here is the opening now. The Aluminum Foil Mastic Tape has sealed permanently the Refrigerator side of the opening improving air flow too. I will have a chance to correct the roof later but not the underside, that had to be done now.
Tags for this Thread
 Posting Permissions
- You may not post new threads
- You may not post replies
- You may not post attachments
- You may not edit your posts
-
Forum Rules
BACK TO TOP

 Likes:
  Thanks:


 Reply With Quote


