

for pictures. The overhaul is not completely finished, but here's a report.
My boat is a 1981 Sea Nymph--16', full-V. It's very stable and an excellent platform for floating corks,
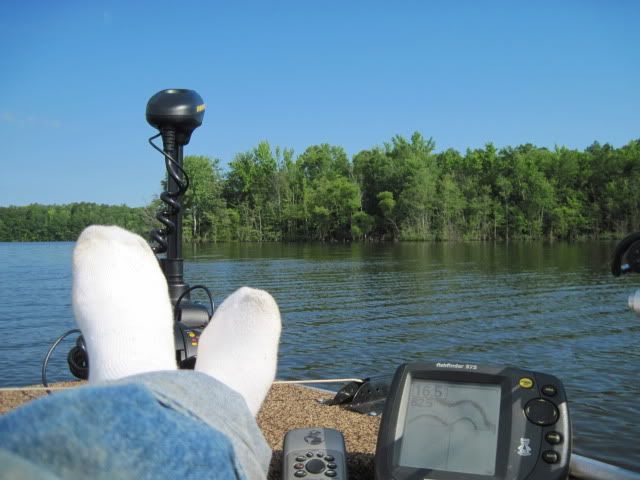
so rather than selling it and buying a new boat, I decided to repair 31 years of deterioration and
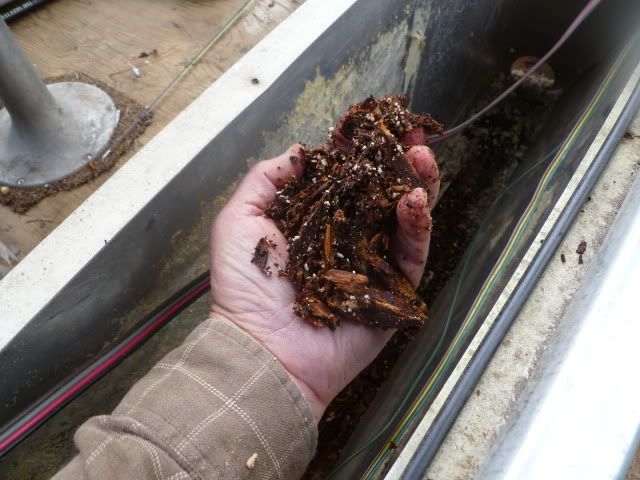
make a few improvements. The carpet was shot and there were a few spots where the flooring
was rotten. How rotten? This rotten:
Replacing the plywood & carpet couldn't be that big a job, I decided. I was wrong.
For starters, I discovered that marine plywood is hard to locate. Building supply places (Lowes,
Home Depot, etc.) only carry salt-treated plywood for exterior applications. I almost decided to go
that route but (fortunately) ran across a discussion warning against the use of salt-treated material
in contact with aluminum. The old flooring was 5/8" & that had to be special-ordered (2 sheets @ $64 each.)
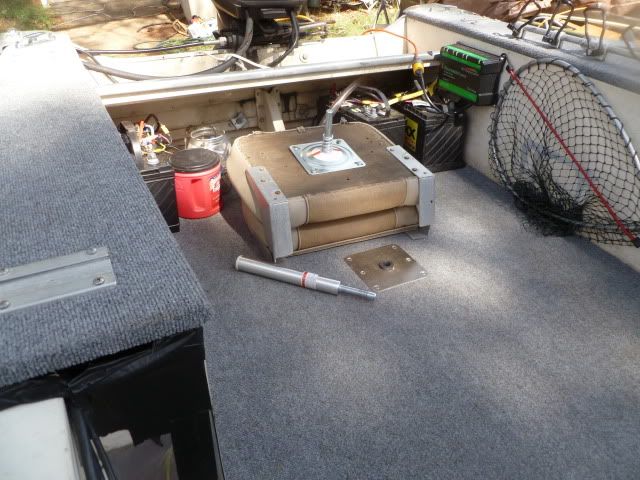
When the new plywood finally arrived, I removed the old seat pedestals (to be replaced),

ripped out the old carpet and drilled-out the rivets holding the flooring in place. After drilling the rivets,
I discovered that pour-in foam (factory installed in 1981) beneath the old flooring was holding it like glue.
Many hours of sawing, prying, and ripping ensued.
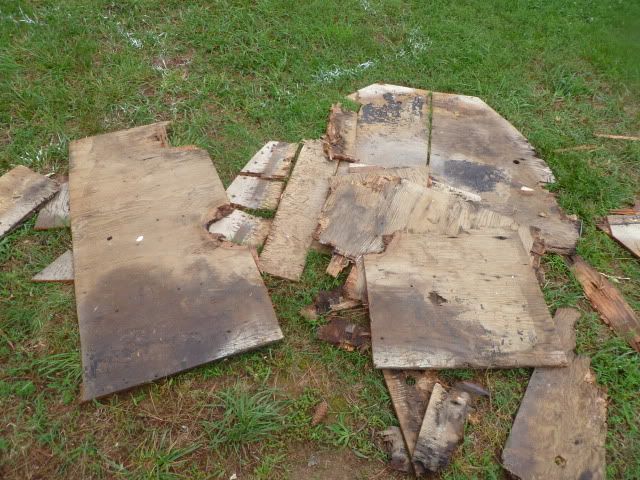
Finally, most of the old material was gone--exposing a water-logged mass of pour-in foam.
Since wet foam provides very little flotation, most of it had to be dug out (3 trash barrels) and replaced
with something comparable.

Instead of replacing pour-in foam with more pour-in foam, I decided to use 2" and 1" polyurethane sheet foam
(the pink stuff) from Home Depot. Cutting and fitting the layers of sheet foam in place was like a 3D jigsaw puzzle
with no picture. After many, many hours of cutting and fitting, it was time to put in the new flooring.
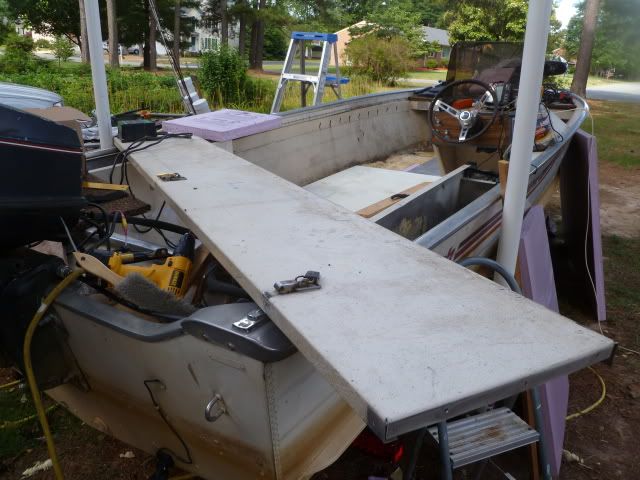
It's very simple to drop in the 4' sections (3 of them) when you're building a boat and haven't added the lockers and
side compartments. With them already installed, however, it's impossible to slide large plywood pieces into place. After
lots of twisting and turning it became obvious that some of the boat had to be dissembled in order to install the new
flooring. Out came the rod locker, the console was dangling in mid-air, and the rear flotation compartments were pried up.
More twisting and turning finally got the flooring into place and ready to rivet down. Many pop rivets later,
it was time to install the new seat pedestals and lay the new carpet.
Using a piece of scrap plywood, I had already determined the diameter holes to be cut in order to install the
seat bases. After they were cut, it was time to lay the carpet. Lowes' cheapest I/O carpet went down easily.
After the glue was dry, I cut the carpet away from the holes and finished installing the seat bases.
My old seats are more comfortable than anything I've seen in the stores, so they didn't get replaced.
With the carpet in place, it was time to reinstall the rod locker and screw down the console and side compartments.
Next came the biggest headache of the whole project--wiring. When built, the boat was wired for running lights,
bilge pump, and live-well pump. As they were added over the years, new electrical devices were wired to the
owners' satisfaction--resulting in a confusing maze of wires.


During my short term of ownership, I added a power-hungry finder, a bubbler, two on-board chargers, 3 group 31 batteries,
and a state-of-the-art 24v TM. My "temporary" wiring for all of these devices was mostly above deck, adding to clutter.
I'm certainly no electrician, but my wiring goals for this overhaul included simplification of wiring where possible,
use of wire sizes that are adequate to carry the load, and breaker/fuse protection of each circuit.
With the boat torn apart, it was easy to move the TM's heavy back-up battery cables (2/0) into the side compartments
and get them out of the floor. Likewise, wires connecting the chargers moved inside the compartments. Direct runs
from the finder and bubbler to the starter battery were significantly shortened by beefing up the wire size from the
battery to the console and making the device connections at the fuse panel in the console. Now, for non-motor wiring,
the fuse panel (not the battery terminals) is the center of all connections.
I never used the factory-installed live well, so it's gone and the pump is disconnected. In 3 years, I never needed
to use the bilge pump, so it's wired directly to the battery and the switch on the console is disconnected.
The final step will be to remove the 6 items attached to the bow deck and replace that little piece of carpet...but first a few fishing trips!
I'm pleased with the (almost) finished product.
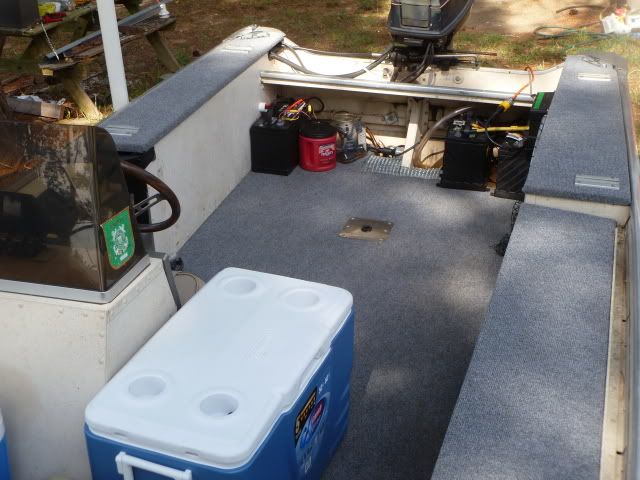
Clutter reduction and floor repair have made the boat safer. There's now more usable space, and when fishing alone, I can remove
the back seat. Nevertheless, it's a good thing that these repairs should outlast me because there's no way I'll go through this again.

 Articles and Stories


vBulletin Message